
Are you ready to make your home smarter with just a simple voice command? Connecting your Merkury light bulb to Google Home can transform the way you control your lighting.
Imagine turning your lights on or off without lifting a finger or adjusting the brightness to set the perfect mood—all with your voice. If you’ve been wondering how to get started, this guide is made for you. Keep reading, and you’ll discover easy, step-by-step instructions that will have your Merkury bulb working seamlessly with Google Home in no time.
Setting Up Your Merkury Light Bulb
Setting up your Merkury light bulb is easy and quick. This guide will help you prepare the bulb for use.
Follow simple steps to make sure your bulb works well with Google Home. Start by getting the bulb ready.
Unboxing And Initial Inspection
Open the box carefully and take out the Merkury light bulb. Check the bulb for any damage or cracks.
Make sure you have the bulb, user manual, and any included accessories. If anything is missing, keep the box for reference.
- Look for cracks or chips on the bulb
- Check that the base matches your fixture
- Read the quick start guide
Installing The Bulb In A Fixture
Turn off the power to the fixture before installing the bulb. This keeps you safe during installation.
Screw the Merkury bulb into the socket firmly but do not overtighten. The bulb should fit snugly and straight.
- Switch off power at the light switch or breaker
- Insert the bulb into the fixture socket
- Turn the bulb clockwise until secure
Powering On The Light Bulb
Turn on the power to the fixture. The bulb will light up and enter setup mode automatically.
If the bulb does not turn on, check the power source and the bulb installation. Reset the bulb if needed by switching it on and off three times.
- Switch on the light fixture
- Look for blinking light indicating setup mode
- Reset if no blinking by cycling power three times
Downloading And Installing The Merkury Smart App
To connect your Merkury light bulb to Google Home, you need the Merkury Smart App. This app helps you control your light bulb easily.
First, download and install the app on your smartphone or tablet. It works on both Android and iOS devices.
Finding The App On Your Device
Open your device’s app store to find the Merkury Smart App. Use the search bar and type “Merkury Smart”.
Look for the app icon with the Merkury logo. Make sure the app is made by Merkury Innovations.
- Android users: Open Google Play Store
- iOS users: Open Apple App Store
- Type “Merkury Smart” in search
- Select the app and tap “Install” or “Get”
Creating Or Logging Into Your Account
After installing, open the Merkury Smart App. You need an account to use it with your light bulb.
If you do not have an account, create one by entering your email and a password. If you have an account, log in with your details.
- Tap “Sign Up” to create a new account
- Enter your email address and choose a password
- Confirm your email if asked
- Tap “Log In” if you already have an account
- Enter your email and password to access the app
Connecting The Bulb To The Merkury App
Connecting your Merkury Light Bulb to the Merkury app is the first step to control it with Google Home. The app lets you manage your bulb’s settings and link it to other smart devices.
This guide will help you switch the bulb to pairing mode, add it to the app, and fix common connection issues.
Switching The Bulb To Pairing Mode
To connect the bulb, you need to put it in pairing mode. This lets the app find and add the bulb.
Turn the bulb on, then quickly turn it off and on three times. The bulb should blink to show it is ready to pair.
- Turn the bulb on.
- Switch it off and on three times quickly.
- Watch for blinking light.
- The blinking means pairing mode is active.
Adding The Bulb In The App
Open the Merkury app and log in or create an account. Make sure your phone is on the same Wi-Fi network you want the bulb to use.
Tap the “Add Device” button and select “Light Bulb” from the list. Follow the app instructions to connect the bulb.
- Open the Merkury app.
- Tap “Add Device.”
- Choose “Light Bulb.”
- Follow the on-screen steps.
- Wait for confirmation that the bulb is added.
Troubleshooting Connection Issues
If the bulb does not connect, check your Wi-Fi and bulb settings. The app needs a 2.4 GHz Wi-Fi network to work properly.
Try these tips if you have trouble connecting:
- Make sure the bulb is in pairing mode.
- Check that your phone is on the correct Wi-Fi.
- Restart the bulb and the app.
- Move closer to the Wi-Fi router.
- Reset the bulb if needed by turning it on/off five times.
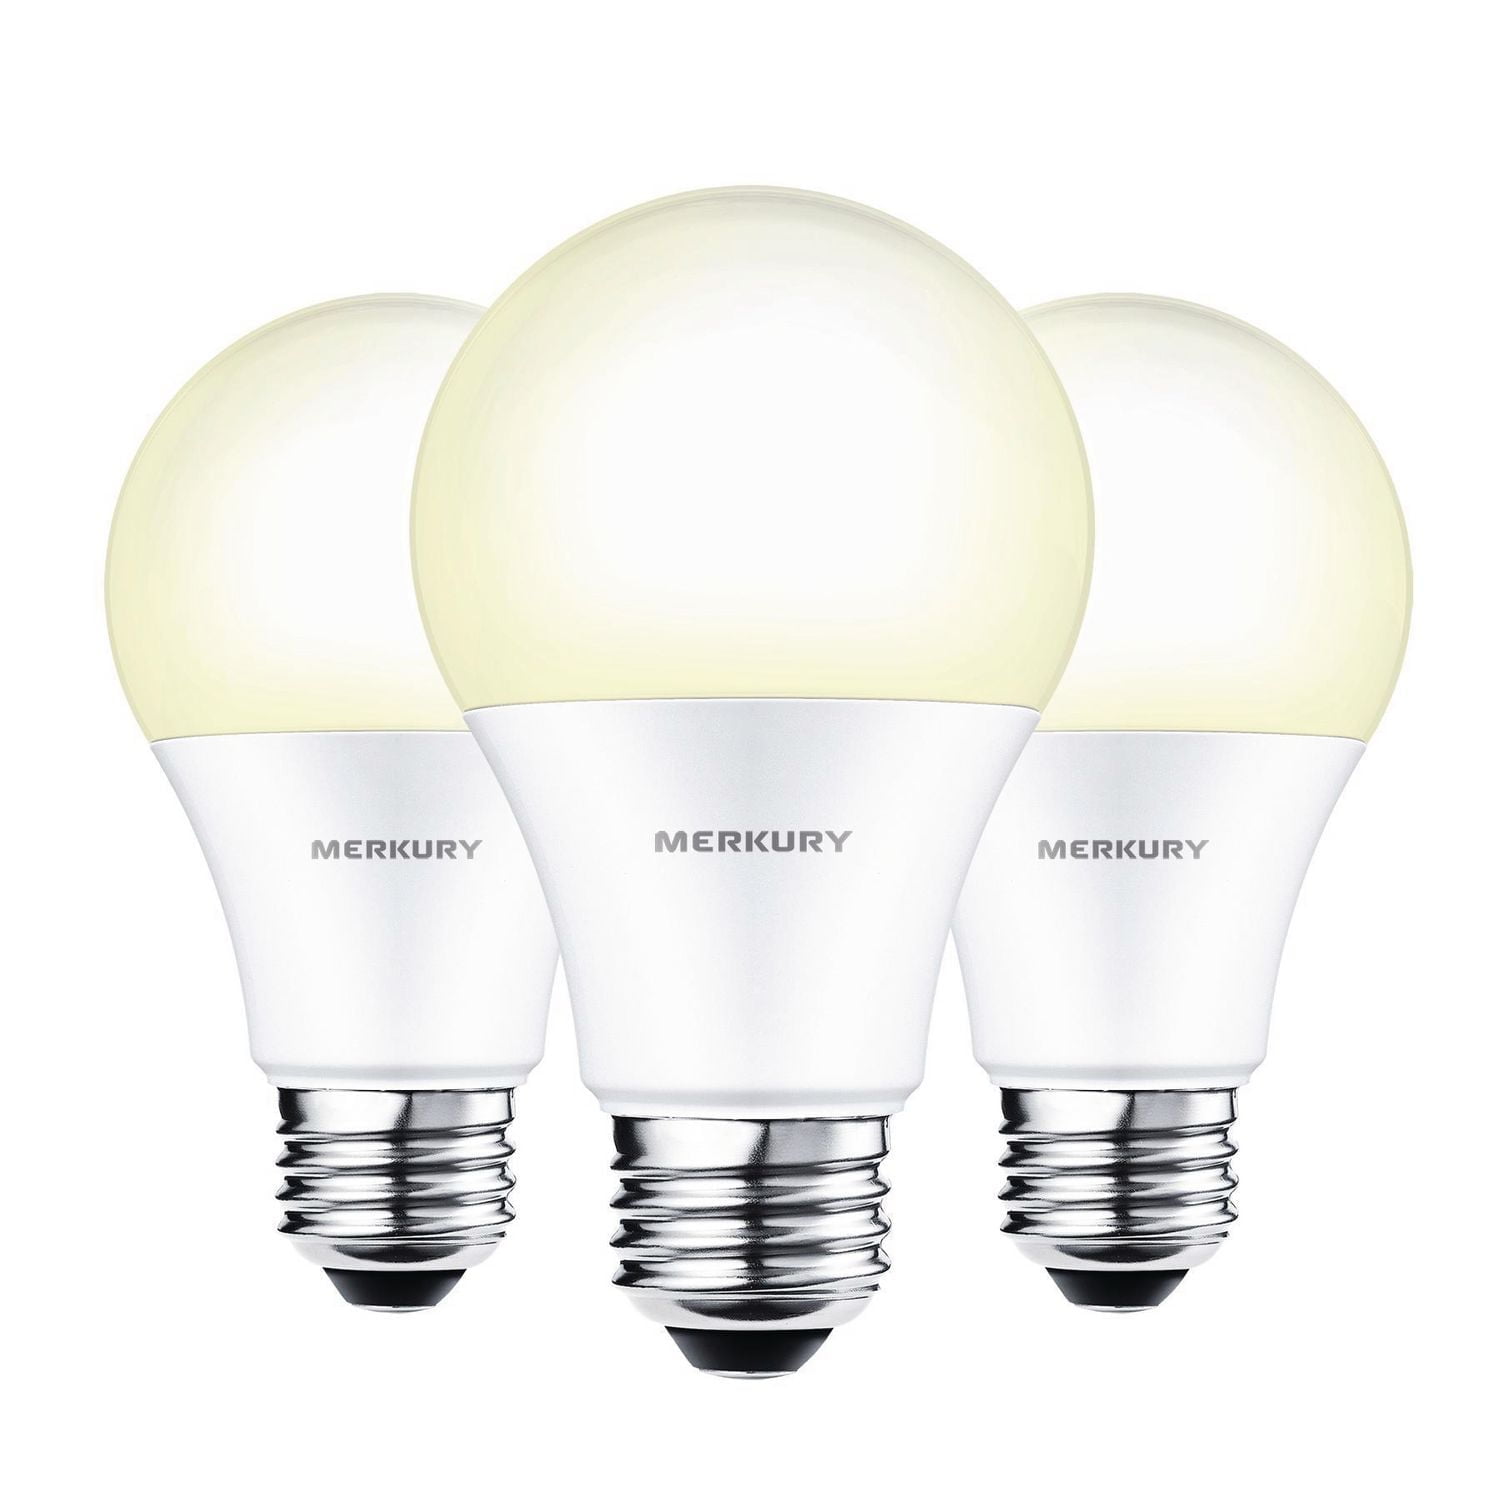
Credit: www.walmart.ca
Linking Merkury App To Google Home
Connecting your Merkury light bulb to Google Home lets you control it with voice commands.
This guide shows how to link the Merkury app to Google Home in simple steps.
Opening Google Home App
Start by opening the Google Home app on your smartphone or tablet.
Make sure you are signed in with your Google account to access device settings.
Adding A New Device
Tap the “+” icon to add a new device in the Google Home app.
- Select “Set up device” from the menu.
- Choose “Works with Google” to link third-party apps.
- Search for the Merkury app in the list.
Selecting Merkury From The List
Find and select “Merkury” from the list of supported apps.
After selecting Merkury, a login screen will appear.
Enter your Merkury app credentials to connect your account.
Once linked, your Merkury light bulb will show up in Google Home.
Configuring Light Bulb Settings In Google Home
Connecting your Merkury light bulb to Google Home lets you control lights with voice commands. You can adjust settings to fit your needs and make your smart home easier to use.
This guide explains how to name your bulb, group bulbs by rooms, and set up routines in Google Home.
Naming Your Bulb For Voice Commands
Give your Merkury bulb a clear name in Google Home. This helps Google Assistant recognize it easily. Use simple, short names that match the bulb’s location or purpose.
For example, name bulbs “Living Room Lamp” or “Bedroom Light”. Avoid names that are hard to say or spell.
Grouping Bulbs In Rooms
Group your bulbs by rooms in the Google Home app. This makes controlling many bulbs easier. You can turn all lights in a room on or off with one command.
Assign bulbs to rooms like “Kitchen,” “Office,” or “Hallway” to keep your smart home organized and simple to control.
- Open Google Home app
- Select a bulb
- Tap “Room” and pick the correct room
- Repeat for all bulbs
Setting Up Routines And Automation
Create routines to automate your Merkury bulbs in Google Home. Routines let you set actions for different times or commands. For example, turn on lights at sunset or when you say “Good morning.”
Automation saves time and makes your home smarter without extra effort.
- Open Google Home app
- Go to “Routines”
- Tap “Add a routine”
- Choose trigger like time or voice command
- Add action to control your bulb
- Save the routine

Credit: www.amazon.com
Testing Voice Commands With Google Assistant
After connecting your Merkury light bulb to Google Home, you can control it using voice commands. Testing these commands helps you know if everything works well.
Google Assistant responds to your voice to turn the light on or off and change settings. You can try simple commands first.
Basic Commands For Light Control
Start with easy voice commands to control your Merkury light bulb. These help you check if Google Assistant understands your requests.
- “Hey Google, turn on the [light name].”
- “Hey Google, turn off the [light name].”
- “Hey Google, dim the [light name] to 50%.”
- “Hey Google, brighten the [light name].”
- “Hey Google, set the [light name] color to blue.”
Advanced Voice Features
You can use more detailed commands to control your Merkury light bulb. These commands let you customize lighting easily.
- “Hey Google, change the [light name] to warm white.”
- “Hey Google, set the [light name] to party mode.”
- “Hey Google, schedule the [light name] to turn off at 10 PM.”
- “Hey Google, sync the [light name] with music.”
Troubleshooting Voice Command Issues
If Google Assistant does not respond to your commands, check some common problems. Fixing these helps your voice control work properly.
- Make sure your Merkury light bulb is connected to Wi-Fi.
- Confirm Google Home and the light bulb use the same network.
- Check if you named the light bulb correctly in the Google Home app.
- Try restarting your Google Home device and the light bulb.
- Update the Google Home app and your devices to the latest version.
Credit: www.walmart.com
Frequently Asked Questions
How Do I Connect Merkury Light Bulb To Google Home?
Open the Google Home app, tap “Add,” and choose “Set up device. ” Select “Works with Google,” then search and select “Merkury. ” Follow the prompts to link your Merkury account and authorize access. Once linked, your bulb will appear in Google Home for control.
Why Won’t My Merkury Bulb Connect To Google Home?
Check your Wi-Fi is 2. 4 GHz and stable. Ensure the bulb is powered on and in pairing mode. Confirm you linked the correct Merkury account in the Google Home app. Restart the app or device if problems persist.
Can I Use Voice Commands With Merkury Bulbs?
Yes, after linking, you can control Merkury bulbs using Google Assistant voice commands. Say “Hey Google, turn on the light” or “Dim the Merkury bulb to 50%” to manage your lighting hands-free.
What App Is Needed To Control Merkury Bulbs?
The Merkury Smart app is required to set up and manage the bulbs. It pairs the bulb to your Wi-Fi and links to Google Home for voice control.
Conclusion
Connecting your Merkury light bulb to Google Home is simple and quick. Follow the steps carefully, and you will control your lights by voice. Enjoy hands-free lighting and create the perfect mood easily. This setup saves time and adds comfort to your home.
Try it today, and see how smart lighting fits your daily life.