
Creating a family photo gallery wall is a wonderful way to bring warmth and personality into your home. But how do you arrange all those precious memories so they look amazing together?
If you’ve ever stared at a blank wall wondering where to start, you’re not alone. This guide will show you simple steps to hang your family photos like a pro, turning your space into a heartfelt showcase. Ready to transform your wall and relive your favorite moments every day?
Let’s dive in and make your family gallery wall truly unforgettable.
Choosing The Right Wall
Picking the right wall is the first step to hang your family photo gallery. The wall should show off your photos well.
Think about the space, light, and wall condition before starting your gallery.
Look For A Spacious Wall
A big wall gives you room to arrange many photos. It lets you create a nice layout without crowding the pictures.
Check walls in living rooms, hallways, or staircases. These spots often have open space for galleries.
Choose A Wall With Good Lighting
Natural light or soft lamps help your photos look clear and bright. Avoid walls that get direct sunlight all day.
Too much sunlight can fade photos over time. Look for walls near windows with filtered light or use lamps.
Pick A Wall With A Neutral Background
Walls with soft, neutral colors like white, beige, or gray work best. They make your photos stand out more.
Avoid walls with bright or busy patterns. They can distract from the pictures and make the gallery look messy.
Check The Wall Condition
Make sure the wall is smooth and clean. Fix holes, cracks, or peeling paint before hanging photos.
A well-prepared wall keeps your frames secure and helps the gallery look neat and polished.

Credit: www.create-enjoy.com
Selecting Photos And Frames
Choosing the right photos and frames is key to a beautiful family photo gallery wall. Select pictures that capture special moments and show your family’s personality.
Frames hold the photos and add style. Pick frames that protect your photos and fit the wall space well.
Mixing Sizes And Styles
Use different photo sizes to create interest on the wall. Mix large and small frames for a balanced look.
Try combining frame styles like wood, metal, or painted finishes. This adds texture and charm to your display.
- Large frames highlight important photos
- Small frames fill spaces without crowding
- Mix frame colors to match your room décor
- Combine modern and classic frame styles
Creating A Cohesive Theme
Pick a theme that fits your home style and family story. Themes help your gallery wall look planned and neat.
Use matching colors or frame materials to tie your photos together. This makes the wall feel like one piece of art.
- Choose black and white photos for a classic look
- Use matching frame colors like all white or all black
- Pick a style like rustic, modern, or vintage
- Arrange photos by color tone or event
Planning The Layout
Creating a family photo gallery wall starts with a good plan. You need to decide where and how to place your photos. Planning helps your wall look organized and beautiful.
Think about the space available and the style you want. This makes hanging your photos easier and more fun.
Using Templates And Tools
Templates and tools help you arrange photos before hanging them. You can use paper cutouts or online design apps to see how your gallery will look. This saves time and prevents mistakes.
- Cut paper shapes matching your photo sizes
- Arrange the cutouts on the wall with tape
- Use a level tool to keep pictures straight
- Try free online gallery layout tools
- Take photos of your layout for reference
Maintaining Balanced Spacing
Even spacing makes your gallery wall look neat and balanced. Too much space makes photos feel disconnected. Too little space looks crowded and messy.
| Spacing Type | Effect | Recommended Use |
| 2-3 inches | Balanced and neat | Most gallery walls |
| 1 inch or less | Compact and cozy | Small walls or tight spaces |
| 4 inches or more | Open and modern | Large walls with few photos |
Preparing The Wall
Hanging a family photo gallery wall starts with preparing the wall correctly. This helps ensure your photos look great and stay secure.
Proper preparation prevents damage and makes the process easier. Focus on marking key points and checking the wall’s safety first.
Marking Key Points
Begin by planning the layout of your photo gallery. Mark where each frame will hang to keep spacing even and balanced.
- Use a pencil to lightly mark spots on the wall.
- Measure the distance between each mark carefully.
- Mark the height where the top of each frame will rest.
- Check that marks are level using a spirit level or laser level.
- Step back often to view the overall layout before drilling.
Ensuring Wall Safety
Check your wall’s condition and structure before hanging photos. This avoids accidents and damage to your wall.
| Wall Type | Safety Check | Tool Needed |
| Drywall | Look for cracks or holes | Stud finder |
| Brick | Check for loose bricks | Hammer and chisel |
| Plaster | Inspect for soft spots | Moisture meter |
Use a stud finder to locate strong spots behind drywall. Avoid hanging heavy frames where studs are missing.
Always wear safety glasses when drilling or hammering. Make sure no electrical wires or pipes are behind the wall where you will hang photos.
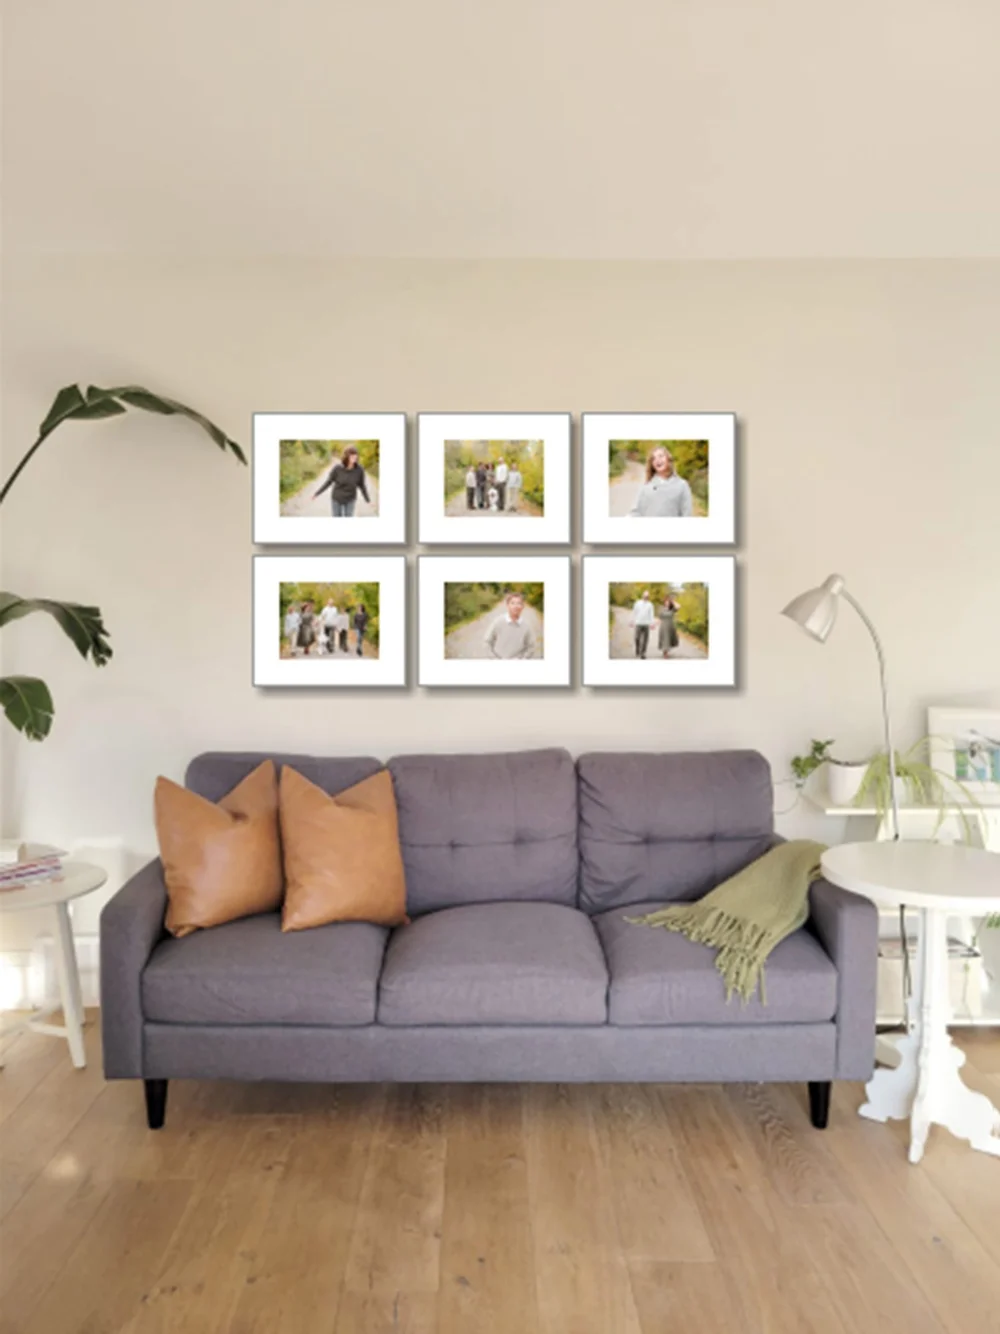
Arranging The Photos
Creating a family photo gallery wall lets you display memories with style. Arranging the photos well makes the wall look balanced and inviting.
This guide helps you place your photos starting from the center and working outwards. This method keeps the arrangement neat and easy to follow.
Starting With Centerpieces
Begin with your largest or most important photo in the center. This picture will act as the focal point of your gallery wall.
- Choose a photo that means the most to your family.
- Make sure it fits well with the size of your wall.
- Place it at eye level for easy viewing.
- Leave space around it for other photos.
Working Outwards
Add smaller photos around the centerpiece to fill the space. Keep the spacing even to create a clean look.
| Tip | How to Apply |
| Maintain equal spacing | Use a ruler or tape measure to keep gaps the same size |
| Mix frame styles | Combine wood, metal, or painted frames for variety |
| Balance colors | Place dark and light frames evenly around the wall |
| Use a level | Ensure photos hang straight for a professional look |
Credit: www.reflections.photo
Securing The Frames
Hanging a family photo gallery wall needs careful frame securing. Properly attached frames keep your photos safe and looking good.
This guide covers choosing the right hardware and ensuring your frames stay level and secure on the wall.
Choosing The Right Hardware
Select hardware that fits your wall type and frame weight. The right tools prevent frames from falling or shifting.
- Use picture hooks for drywall and light frames.
- For heavy frames, use wall anchors or screws.
- Consider wire hanging systems for easy adjustment.
- Use adhesive strips only for very light frames.
Ensuring Level Alignment
Keep your photo gallery neat by aligning frames properly. Level frames create a balanced and pleasing display.
| Tool | Purpose | Tip |
| Spirit level | Check frame is straight | Use on top edge of frame |
| Measuring tape | Measure space between frames | Keep equal distances |
| Painter’s tape | Mark wall points | Helps to position hooks |
Adding Personal Touches
Creating a family photo gallery wall is a great way to show your personality. Adding personal touches makes the space feel warm and inviting.
Small details can make your gallery wall unique. Use ideas that reflect your family’s style and memories.
Incorporating Decorative Elements
Decorative elements add charm and character to your photo gallery wall. They help to break the monotony of just photos.
- Add small shelves to display souvenirs or keepsakes
- Use decorative frames with different colors or patterns
- Include wall decals or quotes that mean something to your family
- Incorporate clocks or mirrors for a mix of function and design
Mixing Textures And Materials
Mixing different textures and materials makes the wall more interesting. It adds depth and a creative feel to your gallery.
| Material | Texture | Effect on Wall |
|---|---|---|
| Wood Frames | Smooth or Grainy | Adds warmth and natural feel |
| Metal Frames | Cool and shiny | Creates modern and sleek look |
| Fabric Mats | Soft and textured | Adds softness and depth |
| Glass Elements | Smooth and reflective | Brightens the wall and adds shine |
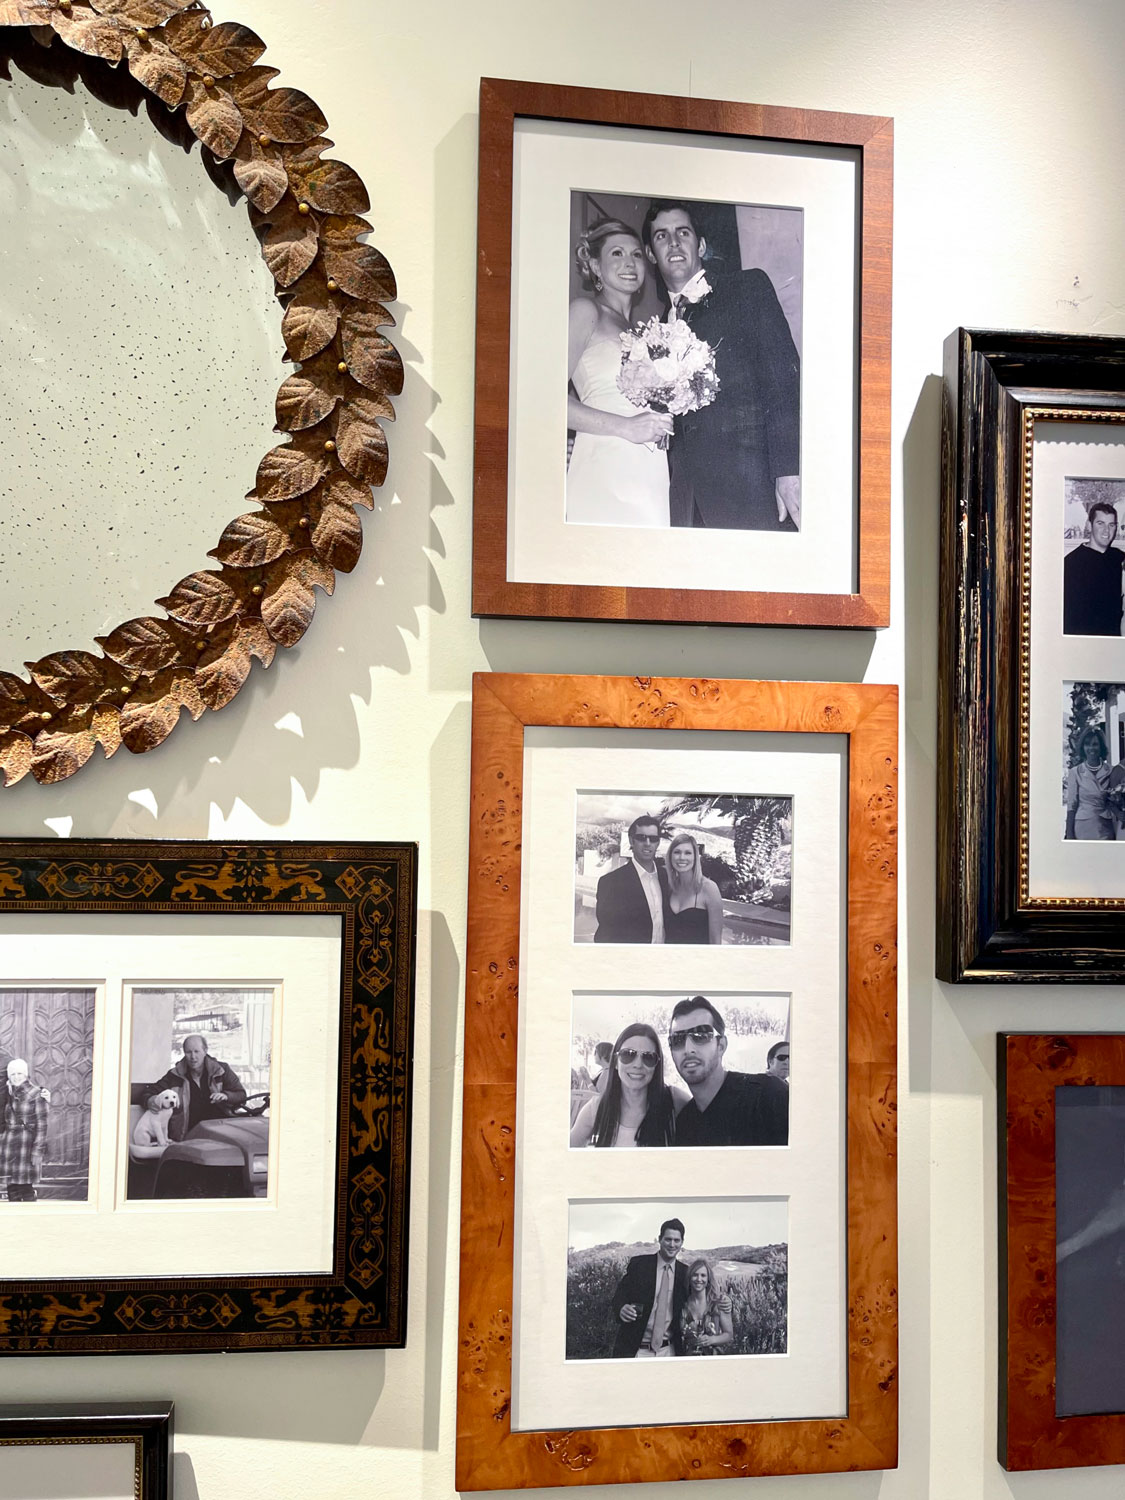
Credit: cindyhattersleydesign.com
Maintaining Your Gallery Wall
Keeping your family photo gallery wall looking great takes some care. Regular maintenance helps preserve memories and the beauty of your display.
Small habits make a big difference in how your gallery wall looks over time. Let’s explore simple ways to keep it fresh and updated.
Regular Cleaning Tips
Dust and dirt can dull your photos and frames. Clean your gallery wall often to keep it bright and clear.
- Use a soft, dry cloth to wipe frames gently.
- Clean glass surfaces with a mild glass cleaner and a lint-free cloth.
- Avoid spraying cleaner directly on the photos to prevent damage.
- Check for any loose frames or nails and tighten them carefully.
- Keep the wall away from direct sunlight to reduce fading.
Updating Photos Over Time
As your family grows and changes, your gallery wall should too. Refresh your photos to keep your wall meaningful and personal.
| When to Update | How to Refresh |
| Every 6–12 months | Swap old photos with new ones |
| After major family events | Add photos from weddings, birthdays, or holidays |
| When styles change | Change frames or layout for a fresh look |
| When photos fade | Replace with newer prints or digital copies |
Frequently Asked Questions
How Do I Plan A Family Photo Gallery Wall?
Start by selecting a wall with good lighting. Choose photos that tell a story. Arrange frames on the floor first. Use consistent frame styles for a cohesive look. Measure the wall to space frames evenly.
What Tools Do I Need To Hang Photos Properly?
You’ll need a tape measure, level, pencil, hammer, and nails or picture hooks. A stud finder helps for heavy frames. Use wall anchors for drywall. These tools ensure your gallery wall is secure and straight.
How High Should I Hang Family Photos On The Wall?
Hang photos at eye level, about 57 to 60 inches from the floor. This height is visually appealing and comfortable for most viewers. Keep the center of your gallery wall aligned with this range.
Can I Mix Different Frame Styles On A Gallery Wall?
Yes, mixing frame styles adds character. Maintain a common color or theme to avoid clutter. Balance ornate frames with simple ones for visual interest. This approach keeps your gallery stylish and unique.
Conclusion
Creating a family photo gallery wall brings warmth to any room. Choose frames and photos that tell your story. Arrange them carefully to create balance and flow. Use simple tools to hang pictures securely. Step back often to check your progress.
This project adds a personal touch to your home. Enjoy seeing your memories displayed every day. A gallery wall turns walls into a place full of love. Start small, then add more photos over time. Your family’s story deserves a special place to shine.