
Are you ready to give your bathroom a fresh new look? Removing and installing a bathroom vanity might seem like a big job, but with the right steps, you can do it yourself and save money.
Imagine transforming your space without waiting for a pro or paying extra fees. In this guide, you’ll find simple, clear instructions that make the process easy to follow. By the end, you’ll have the confidence to tackle your vanity project and enjoy a bathroom that feels brand new.
Keep reading—you’re just a few steps away from a stylish upgrade!
Tools And Materials Needed
Removing and installing a bathroom vanity requires the right tools and materials. Having everything ready helps the job go smoothly.
This guide covers the essential items you need before starting your project.
Basic Tools
You need several basic tools to remove and install your bathroom vanity safely and efficiently.
- Screwdriver set (flathead and Phillips)
- Adjustable wrench
- Pipe wrench
- Utility knife
- Measuring tape
- Level
- Hammer
Plumbing Supplies
Plumbing materials help disconnect and reconnect water lines and drains during the process.
| Item | Purpose |
| Plumber’s tape | Seal pipe threads |
| Pipe sealant | Prevent leaks |
| Bucket | Catch water during disconnection |
| New supply lines | Replace old or damaged lines |
| Drain assembly kit | Install new drain |
Materials For Vanity Installation
These materials are needed to secure and finish the vanity installation correctly.
- New vanity cabinet
- Mounting screws
- Silicone caulk
- Backer board (optional for wall repair)
- Paint or finish supplies (if needed)
Safety Equipment
Safety gear protects you from injury during the removal and installation tasks.
- Work gloves
- Safety glasses
- Dust mask
Preparing The Workspace
Removing and installing a bathroom vanity needs a clean and safe space. Preparing the workspace helps make the job easier.
Clear the area and turn off the water supply before starting. This prevents accidents and damage.
Clearing The Area
Remove all items near the vanity. Clear the countertop, floor, and shelves around it.
Move rugs and mats to avoid tripping. Keep tools and parts close but out of the way.
- Take away toiletries and cleaning supplies
- Remove wall hangings near the vanity
- Clear the floor space around the vanity
- Keep a trash bin nearby for debris
Turning Off Water Supply
Find the water shut-off valves under the sink. Turn both hot and cold valves clockwise to close them.
If there are no valves under the sink, turn off the main water supply for your home. Test the faucet to ensure water is off.
- Locate valves under the sink
- Turn valves clockwise to close
- Use a wrench if valves are tight
- Turn on the faucet to check water is off
- Turn off the main supply if needed
Removing The Old Vanity
Removing an old bathroom vanity is a task you can do yourself. It requires careful steps to avoid damage. You must work safely and prepare the area well.
Focus on detaching the sink, disconnecting the plumbing, and unfastening the vanity from the wall. Each part needs attention to remove the vanity smoothly.
Detaching The Sink
First, clear the sink area and remove items from the countertop. Turn off the water supply valves below the sink. Then, disconnect the water lines carefully.
- Shut off hot and cold water valves.
- Use a wrench to loosen water supply lines.
- Disconnect the drain pipe from the sink.
- Remove any clips or fasteners holding the sink.
- Lift the sink gently from the vanity top.
Disconnecting Plumbing
After detaching the sink, disconnect the plumbing connections under the vanity. Be ready with a bucket to catch any water left in the pipes.
| Plumbing Part | Action | Tip |
|---|---|---|
| Drain Pipe | Loosen slip nuts and remove pipe sections. | Have towels ready for spills. |
| Water Supply Lines | Use an adjustable wrench to disconnect. | Turn off main water if needed. |
| Shutoff Valves | Close valves to stop water flow. | Replace if old or leaking. |
Unfastening The Vanity
Finally, remove the screws or nails holding the vanity to the wall. Check for caulk or adhesive that may stick the vanity to the floor or wall.
Follow these tips for unfastening the vanity:
- Locate screws inside cabinet corners and behind the back panel.
- Use a drill or screwdriver to remove all fasteners.
- Cut any caulk with a utility knife around the edges.
- Ask someone to help lift the vanity carefully away from the wall.

Credit: www.youtube.com
Preparing The New Vanity
Getting the new bathroom vanity ready is an important step. It helps to avoid problems during installation.
Take time to prepare the vanity before moving it into place. Check all parts and make sure it fits well.
Assembling Components
Many vanities come in parts that need to be put together. Assemble these parts carefully before installation.
Read the instructions and gather all tools needed. Tighten screws but do not overdo it to avoid damage.
- Attach cabinet doors and drawers
- Install shelves or dividers if included
- Fix the countertop securely
- Connect sink or faucet parts loosely for now
Checking For Fit
Measure the space where the vanity will go. Make sure the new vanity fits well in that space.
Check the placement of pipes and outlets. They should line up with the vanity openings.
- Measure width, height, and depth of the vanity space
- Compare with the new vanity dimensions
- Check sink and faucet openings match plumbing
- Look for clearance around the vanity for doors and drawers
Installing The New Vanity
Installing a new bathroom vanity can update your space quickly. It needs careful work to fit and secure it properly.
Follow these steps to position, secure, and reconnect the plumbing for your new vanity.
Positioning The Vanity
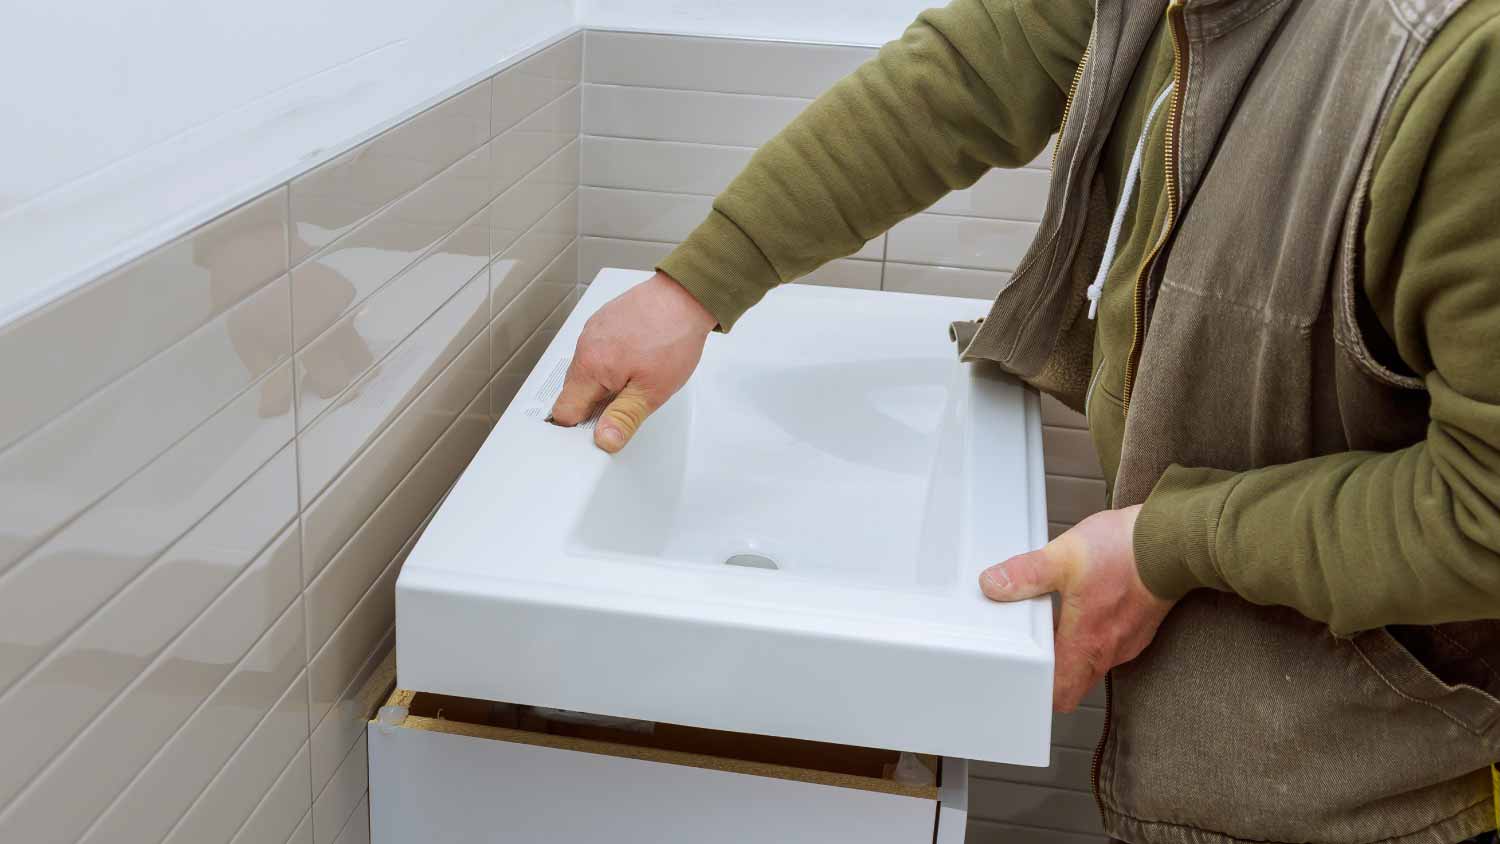
First, move the new vanity close to the wall where it will go. Make sure it fits well in the space.
Check the level of the floor and wall. Use a level tool to make sure the vanity will sit straight.
- Place the vanity against the wall
- Use a level on the top surface
- Adjust with shims if needed for balance
Securing To The Wall
Attach the vanity firmly to the wall to keep it stable. Use screws and anchors suited for your wall type.
Drill pilot holes through the vanity frame into wall studs. Screw the vanity in place without over-tightening.
- Locate wall studs behind the vanity
- Drill pilot holes in the frame
- Use wood screws to secure the vanity
- Check the level again after securing
Reconnecting Plumbing
Reconnect the water supply lines to the faucet. Tighten the connections carefully to avoid leaks.
Attach the drain pipe to the sink drain. Make sure all connections are sealed and secure.
- Connect hot and cold water supply lines
- Tighten all fittings with a wrench
- Attach drain pipe to the sink drain
- Test for leaks by running water

Credit: www.youtube.com
Attaching The Sink And Fixtures
Attaching the sink and fixtures is an important step when installing a bathroom vanity. It ensures your sink works well and stays in place.
This guide covers sealing the sink, installing the faucet, and connecting the drain properly.
Sealing The Sink
Apply a bead of silicone sealant around the edge of the sink where it meets the vanity top. This prevents water from leaking under the sink.
Carefully press the sink into place and wipe away any excess sealant with a damp cloth.
Installing The Faucet
Secure the faucet to the sink by following these steps:
- Insert the faucet through the mounting holes on the sink.
- From under the sink, thread the mounting nuts onto the faucet shanks.
- Tighten the nuts by hand, then use a wrench for a firm fit.
- Attach the water supply lines to the faucet connections.
- Check that the faucet is aligned correctly before final tightening.
Connecting The Drain
| Part | Action |
|---|---|
| Drain Flange | Apply plumber’s putty under flange and press into sink drain hole. |
| Tailpiece | Attach tailpiece to the flange from below the sink. |
| P-Trap | Connect the P-trap to the tailpiece and wall drain pipe. |
| Slip Nuts | Tighten slip nuts by hand, then use pliers for a secure fit. |
Make sure all connections are tight to prevent leaks. Test the drain by running water and checking for drips.
Final Touches
After installing your bathroom vanity, focus on the final steps to ensure everything works well. These last tasks help prevent leaks and keep your bathroom neat.
Checking water flow and sealing edges are key to a good finish. Take your time to do these carefully.
Testing Water Flow
Turn on the water supply slowly. Watch for any drips or leaks under the sink.
Check both hot and cold water taps to make sure water flows smoothly. Fix any leaks right away to avoid damage.
- Turn on hot and cold water
- Look under the sink for drips
- Listen for unusual sounds
- Check the faucet aerator for steady flow
- Tighten connections if needed
Caulking Edges
Apply caulk along the edges where the vanity meets the wall or countertop. This keeps water from seeping behind the vanity.
Use a smooth bead of caulk and wipe off the excess with a wet finger or tool. Let it dry fully before using the sink.
- Choose a waterproof silicone caulk
- Cut the tip of the caulk tube at a 45-degree angle
- Apply a thin, even bead along the edges
- Smooth the caulk with a finger or caulk tool
- Clean any spills quickly with a damp cloth
Maintenance Tips
Keeping your bathroom vanity in good shape helps it last longer. Regular care prevents damage and costly repairs.
Follow these simple maintenance tips to protect your vanity and keep it looking fresh.
Clean Spills Immediately
Water and other liquids can damage the vanity surface. Wipe spills right away to stop stains and swelling.
Use a soft cloth and mild cleaner to avoid scratching or fading the finish.
Check For Leaks Regularly
Leaks under the sink can cause wood rot and mold. Look under the vanity often to find leaks early.
- Inspect pipes and joints for drips
- Listen for dripping sounds
- Fix leaks quickly to prevent damage
Avoid Excess Weight
Do not put heavy items on the vanity top. Extra weight can cause cracks or break the structure.
Store heavy tools or products elsewhere to keep your vanity safe.
Maintain Caulk And Seals
Caulk around the vanity stops water from seeping into gaps. Check it often and replace if cracked or missing.
Good seals protect the vanity and bathroom walls from moisture damage.
Polish And Protect Surfaces
Use a polish made for your vanity material to keep surfaces smooth and shiny. It adds a layer of protection.
Apply polish every few months to reduce wear and tear.
Tighten Loose Hardware
Doors and drawers can loosen over time. Check hinges and handles regularly and tighten screws as needed.
- Use a screwdriver to tighten screws
- Replace damaged hardware if needed
- Keep parts aligned to avoid damage
Credit: www.angi.com
Frequently Asked Questions
How Do I Remove An Old Bathroom Vanity Safely?
Turn off water supply and disconnect plumbing first. Remove screws securing the vanity to the wall. Carefully pull the vanity away from the wall. Take care to avoid damaging pipes or drywall. Use basic tools like a wrench and screwdriver.
What Tools Are Needed To Install A Bathroom Vanity?
You will need a drill, screwdriver, level, wrench, and caulk gun. Measuring tape and a stud finder help with placement. Basic plumbing tools are essential for connecting water lines. Having the right tools ensures a smooth installation process.
How Do I Connect Plumbing To A New Vanity?
Attach the faucet and drain assembly first. Connect water supply lines to the shutoff valves. Use plumber’s tape on threaded connections to prevent leaks. Check all connections by turning the water back on slowly. Tighten fittings as needed without overtightening.
Can I Install A Bathroom Vanity Alone?
Yes, with basic DIY skills, you can install alone. However, assistance is helpful when moving heavy vanities. Take safety precautions, especially when handling plumbing and electrical components. Plan your steps carefully and gather all tools before starting.
Conclusion
Removing and installing a bathroom vanity can seem tough at first. Take your time and follow each step carefully. Always turn off water before starting the work. Use the right tools for a smooth process. Double-check your plumbing connections after installation.
A new vanity can change your bathroom’s look. Enjoy the fresh, clean space you create. Small fixes lead to big improvements. Keep safety in mind and work patiently. You can do it!