
Are you ready to make your home smarter and lighting easier to control? Connecting your Lenovo Smart Bulb to Google Home lets you manage your lights with just your voice.
Imagine turning your lights on or off without getting up or setting the perfect mood with a simple command. In this guide, you’ll learn exactly how to link your Lenovo Smart Bulb to Google Home step by step. Keep reading, and soon you’ll enjoy hands-free lighting that fits your lifestyle perfectly.

Credit: www.amazon.com.au
Requirements And Preparations
Connecting a Lenovo Smart Bulb to Google Home makes your lighting smart and easy to control. Before starting, you need some tools and information ready.
This guide covers the devices that work, the bulb details, and the app you need to install.
Compatible Devices
Not all devices work with Lenovo Smart Bulb and Google Home. Check if your phone and smart home devices are compatible.
- Smartphones with Android 6.0 or higher
- iPhones with iOS 12.0 or higher
- Google Home smart speakers or displays
- Wi-Fi network with 2.4 GHz band support
Lenovo Smart Bulb Specifications
The Lenovo Smart Bulb has features that support smart home use. Knowing these helps in setup and use.
- Power: 9W LED bulb
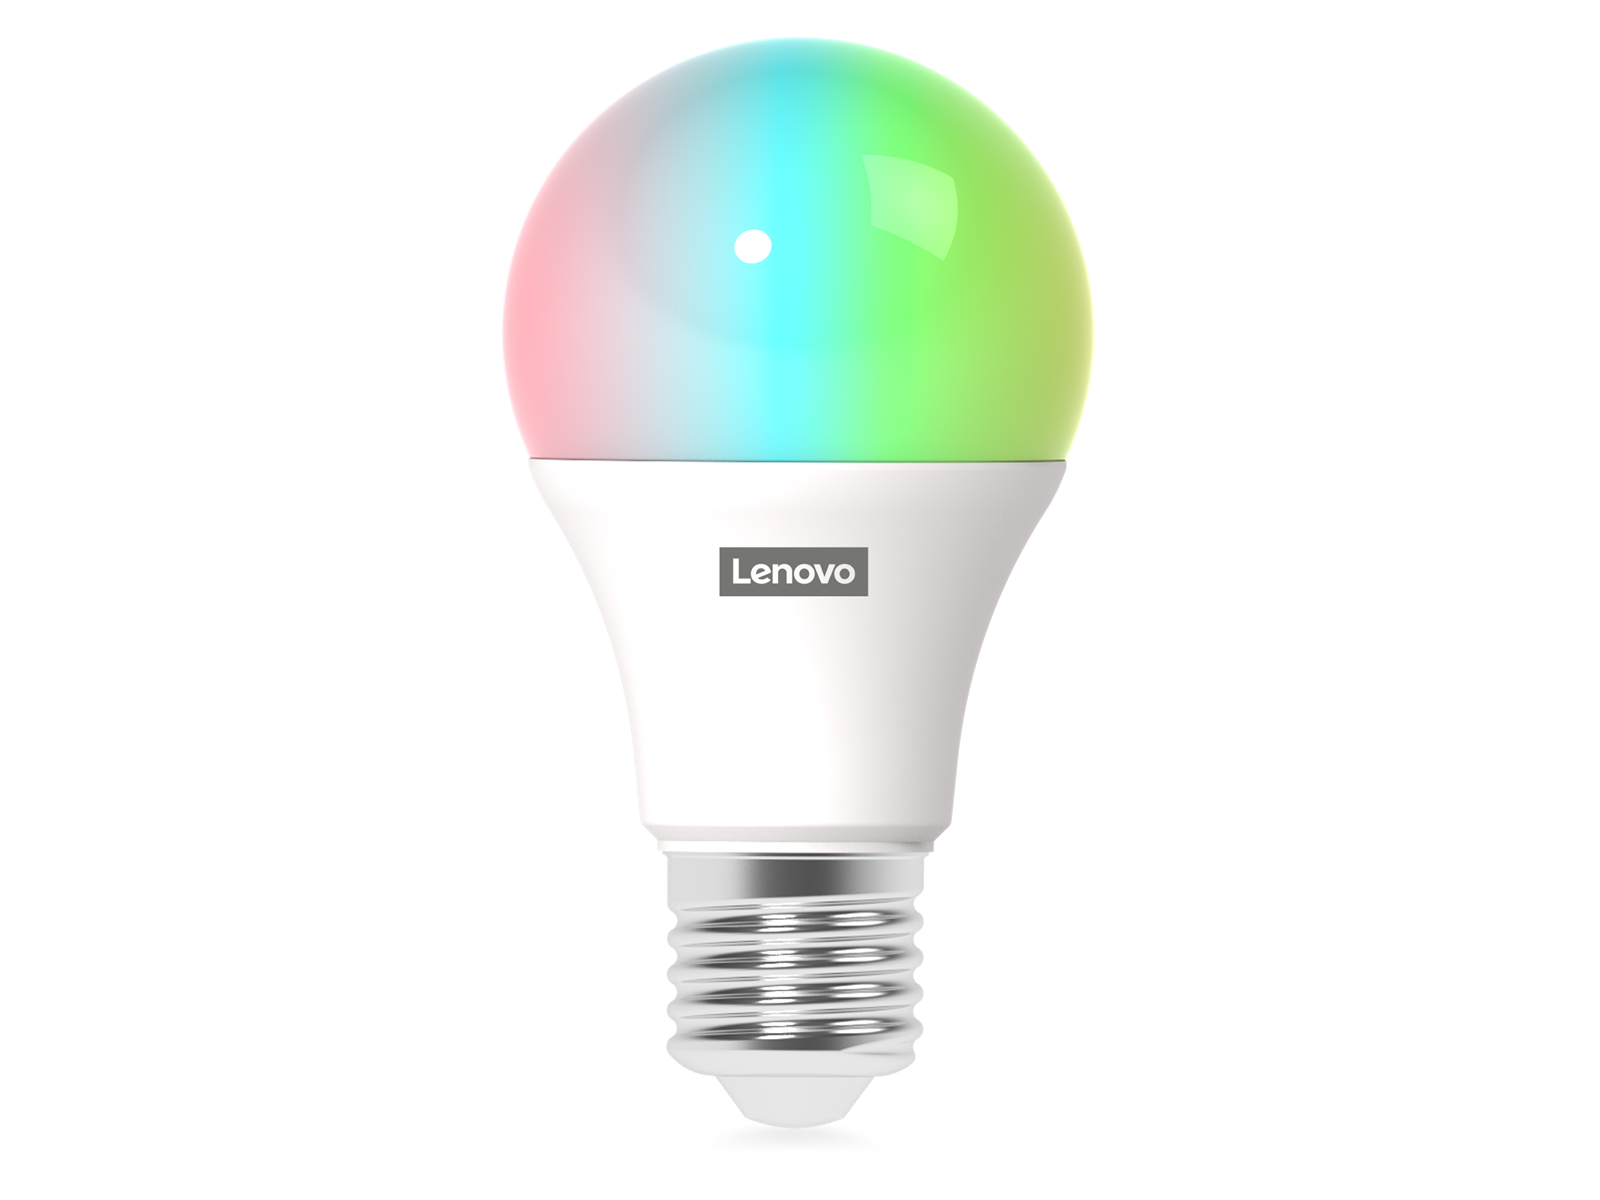
- Color: Supports 16 million colors
- Brightness: Up to 800 lumens
- Connectivity: Wi-Fi 2.4 GHz only
- Control: Works with Google Assistant
Google Home App Installation
You must install the Google Home app to connect and control the Lenovo Smart Bulb. The app helps set up your smart devices.
- Download from Google Play Store or Apple App Store
- Create or sign in to your Google account
- Connect your phone to the home Wi-Fi network
- Allow app permissions for location and devices
Setting Up Lenovo Smart Bulb
Setting up your Lenovo Smart Bulb is quick and easy. This guide helps you connect the bulb to your Google Home system.
Follow the instructions below to power the bulb, connect it to Wi-Fi, and use the Lenovo Link app.
Powering The Bulb
First, screw the Lenovo Smart Bulb into a compatible light socket. Make sure the power switch is turned on.
The bulb will blink to indicate it is powered and ready for setup.
Connecting To Wi-fi Network
Ensure your phone is connected to a 2.4 GHz Wi-Fi network. The Lenovo Smart Bulb does not support 5 GHz networks.
- Open your phone’s Wi-Fi settings.
- Connect to the 2.4 GHz network you want the bulb to use.
- Keep the phone near the bulb during setup.
After connecting your phone to the right network, you can proceed to the app setup.
Using Lenovo Link App
Download and open the Lenovo Link app on your smartphone. Create an account or sign in if you already have one.
- Tap the “Add Device” button in the app.
- Select “Smart Bulb” from the device list.
- Follow the on-screen instructions to connect the bulb.
- Enter your Wi-Fi password when prompted.
- Wait for the app to confirm the bulb is connected.
Once connected, you can control the Lenovo Smart Bulb with Google Home after linking your accounts.
Integrating With Google Home
Connecting your Lenovo Smart Bulb to Google Home lets you control lights with your voice. This guide helps you set up the bulb quickly.
You can turn lights on or off and change colors using simple commands after integration.
Opening Google Home App
First, open the Google Home app on your smartphone. Make sure you are signed in with your Google account. The app controls all your smart devices in one place.
Adding Lenovo Smart Bulb
To add the Lenovo Smart Bulb, follow these steps in the Google Home app.
- Tap the “+” icon at the top left corner.
- Select “Set up device.”
- Choose “Works with Google.”
- Search for “Lenovo” or “Lenovo Smart Bulb.”
- Log in with your Lenovo account to link the bulb.
Assigning Bulb To A Room
Assigning your bulb to a room helps organize your devices and makes voice commands easier.
| Action | Description |
| Open Google Home app | Go to your device list |
| Select Lenovo Smart Bulb | Tap on the bulb you just added |
| Tap “Assign to room” | Choose the room where the bulb is located |
| Confirm selection | The bulb now responds to room-specific commands |
Credit: www.proshop.fi
Testing And Troubleshooting
After connecting your Lenovo Smart Bulb to Google Home, it is important to test its functions. This ensures the bulb responds correctly to your commands.
If you face issues, simple troubleshooting steps can help fix the problem. This guide covers voice command testing, common problems, and resetting the bulb.
Voice Command Testing
Test your Lenovo Smart Bulb by speaking commands to Google Home. Use clear and simple phrases like “Turn on the living room light” or “Dim the bedroom light to 50%.”
- Check if the bulb changes brightness or color as requested.
- Make sure Google Home confirms your command verbally.
- Try turning the bulb off and on using voice commands.
- If the bulb does not respond, repeat the command slowly and clearly.
Common Issues And Solutions
Sometimes the bulb may not work as expected. Use the table below to find common problems and quick fixes.
| Issue | Possible Cause | Solution |
| Bulb not responding | Wi-Fi not connected | Check Wi-Fi settings and reconnect |
| Google Home says device not found | Bulb not linked to Google Home | Re-link bulb in Google Home app |
| Bulb flickers or turns off | Power supply issues | Check bulb socket and power source |
| Color or brightness not changing | App or voice command error | Restart Google Home and try again |
Resetting The Bulb
If problems persist, reset the Lenovo Smart Bulb. This clears previous settings and prepares it for a fresh setup.
- Turn the bulb on and off five times quickly.
- The bulb will blink to show it is resetting.
- Wait for the bulb to stop blinking.
- Open the Lenovo Smart Bulb app to reconnect the bulb to Wi-Fi.
- Link the bulb again with the Google Home app.
Advanced Features And Customization
Connecting your Lenovo Smart Bulb to Google Home lets you control it easily. You can customize light settings and create smart routines. These features help you get the best from your smart lighting.
This guide covers setting up automations, creating light schedules, and adjusting color and brightness. Each part adds more control to your smart bulb.
Setting Up Automations
Automations let your Lenovo Smart Bulb work without manual control. You can link it to other smart devices or trigger actions by events.
- Open the Google Home app on your phone.
- Select your Lenovo Smart Bulb from device list.
- Tap on “Routines” to start a new automation.
- Choose a trigger like time or voice command.
- Set the bulb action such as turning on or changing color.
- Save the routine and test it.
Creating Light Schedules
Light schedules help you save energy and improve comfort. You can set your bulb to turn on or off at fixed times.
| Schedule Type | Use Case | Setup Tip |
| Wake Up | Light gradually turns on in the morning | Set start time 30 minutes before waking |
| Sleep | Light dims to help you relax at night | Choose warm colors and low brightness |
| Away Mode | Light turns on/off to simulate presence | Randomize on/off times for security |
Exploring Color And Brightness Options
The Lenovo Smart Bulb offers many colors and brightness levels. You can customize these from the Google Home app or by voice.
- Use color wheel for selecting hues
- Adjust brightness slider for light intensity
- Save favorite colors for quick access
- Use voice commands like “Set light to blue” or “Dim the light to 50%”

Credit: www.techhive.com
Frequently Asked Questions
How Do I Connect Lenovo Smart Bulb To Google Home?
To connect, first install the Lenovo Smart Bulb app and set up the bulb. Then, open Google Home, tap “Add,” choose “Set up device,” and select “Works with Google. ” Link your Lenovo account to Google Home for seamless control.
What App Is Needed For Lenovo Smart Bulb Setup?
You need the Lenovo Smart Bulb app, available on Android and iOS. This app helps you configure the bulb and link it to your Wi-Fi network. It’s essential for initial setup before connecting to Google Home.
Why Won’t Google Home Detect My Lenovo Smart Bulb?
Ensure the bulb and phone are on the same Wi-Fi network. Also, check that the bulb is powered on and properly set up in the Lenovo app. Restart Google Home if detection fails.
Can I Control Lenovo Smart Bulb With Google Assistant?
Yes, once connected, you can use Google Assistant to turn the bulb on/off, dim, or change colors. Voice commands make smart lighting convenient and hands-free.
Conclusion
Connecting your Lenovo Smart Bulb to Google Home is simple and quick. Follow each step carefully to avoid common issues. Once linked, control your lighting with just your voice. This setup adds convenience and comfort to your daily routine. Enjoy smart home features without confusion or extra tools.
Keep your devices updated for the best experience. Start using your smart bulb with Google Home today and see the difference.