
Looking for a unique way to add a special touch to your Christmas tree this year? Your star topper is the perfect place to shine, and making it yourself can be easier and more fun than you think.
Imagine creating a beautiful, personalized star that not only lights up your tree but also fills your home with holiday spirit. In this guide, you’ll discover simple steps and creative ideas to craft your own Christmas tree star topper. Ready to make your tree stand out and impress your family and friends?
Let’s get started!
Credit: www.paper-shape.com
Materials Needed
Making a Christmas tree star topper is a fun and creative activity. You only need a few simple materials to get started. These items are easy to find and work well for a DIY project.
Gather all your materials before you begin. This will help you work smoothly and enjoy the process.
Cardboard Or Foam Board
Cardboard or foam board is the base for your star. It gives the topper a sturdy shape. Choose a thickness that is easy to cut but strong enough to hold its form.
You can use old boxes or buy foam boards from a craft store. Both work well and are lightweight for the tree.
Scissors Or Craft Knife
Use scissors or a craft knife to cut your star shape from the cardboard or foam board. A craft knife gives more precise cuts but be careful while handling it.
Make sure your cutting tool is sharp and safe to use. Always cut on a safe surface to protect your table.
Glue Or Hot Glue Gun
Glue holds your star parts together. White glue works for light materials, but a hot glue gun gives a stronger bond. Use glue carefully to avoid mess.
If you use a hot glue gun, ask an adult for help. It gets very hot and can burn skin.
Paint Or Markers
Paint or markers add color and shine to your star. Choose colors that match your Christmas decor. Gold, silver, red, or white are popular choices.
You can also use glitter paint or metallic markers for extra sparkle. Let the paint dry before handling the star.
Ruler And Pencil
A ruler and pencil help you draw the star shape accurately on the board. Measure and mark points before cutting to get a neat shape.
Draw lightly so you can erase marks after cutting. This makes your star look clean and polished.
Decorative Items
Decorative items make your star unique. Use small beads, sequins, ribbons, or stickers to add texture and shine.
- Beads add a 3D effect
- Sequins catch the light
- Ribbons add color and movement
- Stickers can create patterns
Choosing The Right Design
Picking the right star topper can make your Christmas tree shine. The design you choose sets the tree’s style.
Think about your room’s look and your personal taste. This helps you find a star that fits well.
Classic Five-point Star
The classic five-point star is simple and timeless. It fits many decorating styles and looks great on any tree.
You can make it with paper, cardboard, or metal. Paint it gold or silver for a traditional feel.
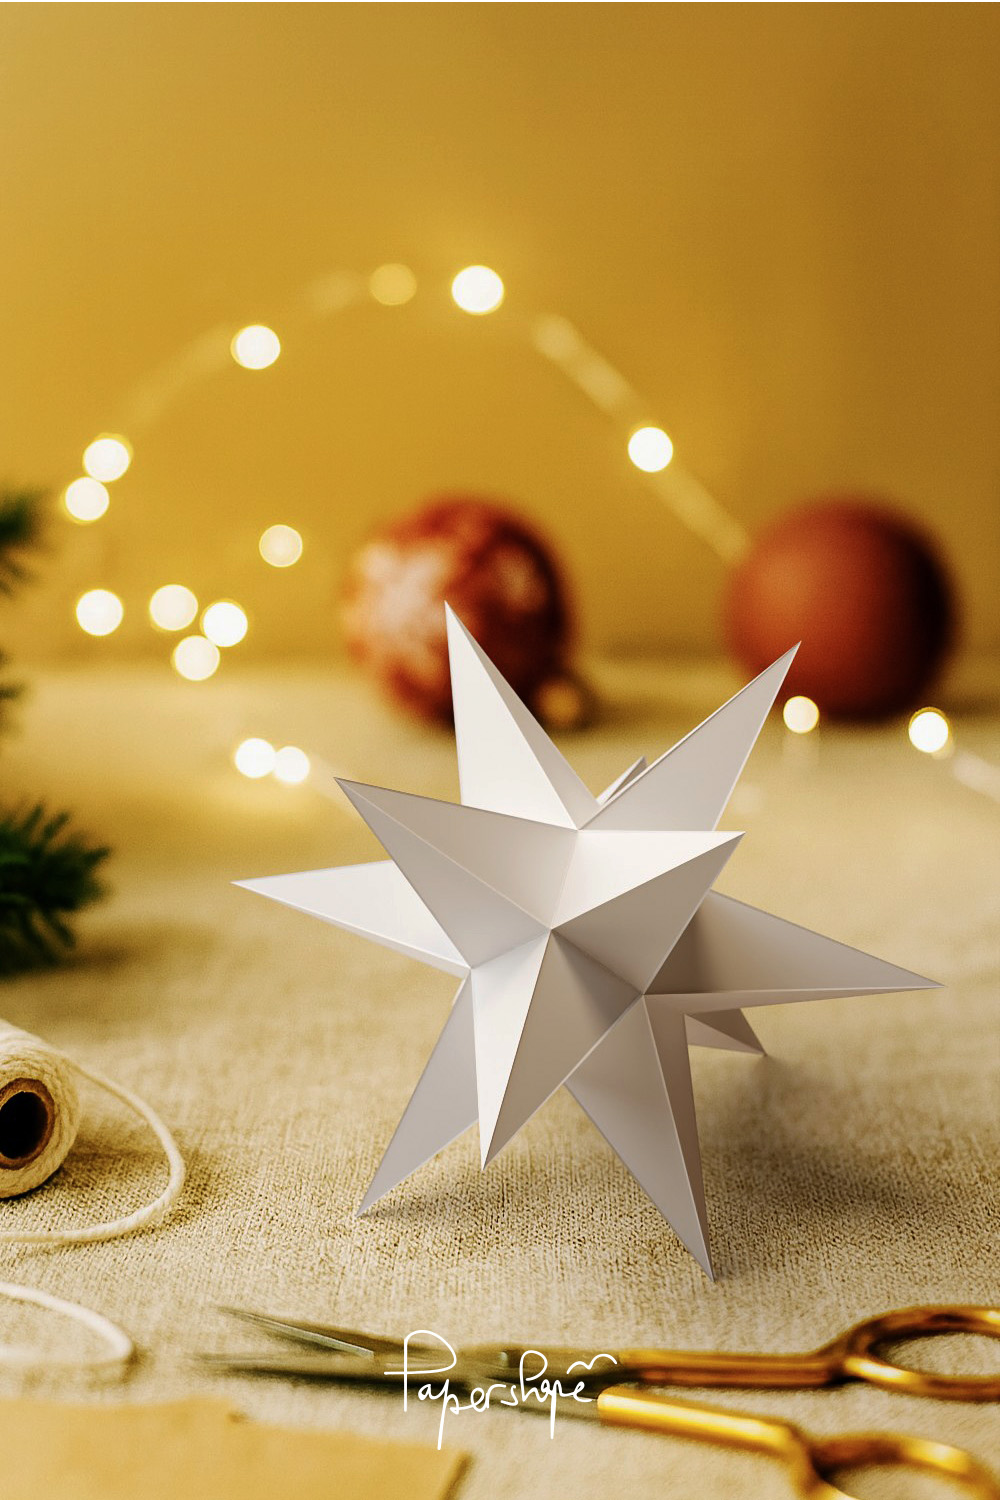
3d Origami Star
The 3D origami star adds depth and texture to your tree. It looks elegant and is fun to create with folded paper.
This design uses simple folds and glue. You can choose bright or soft colors to match your theme.
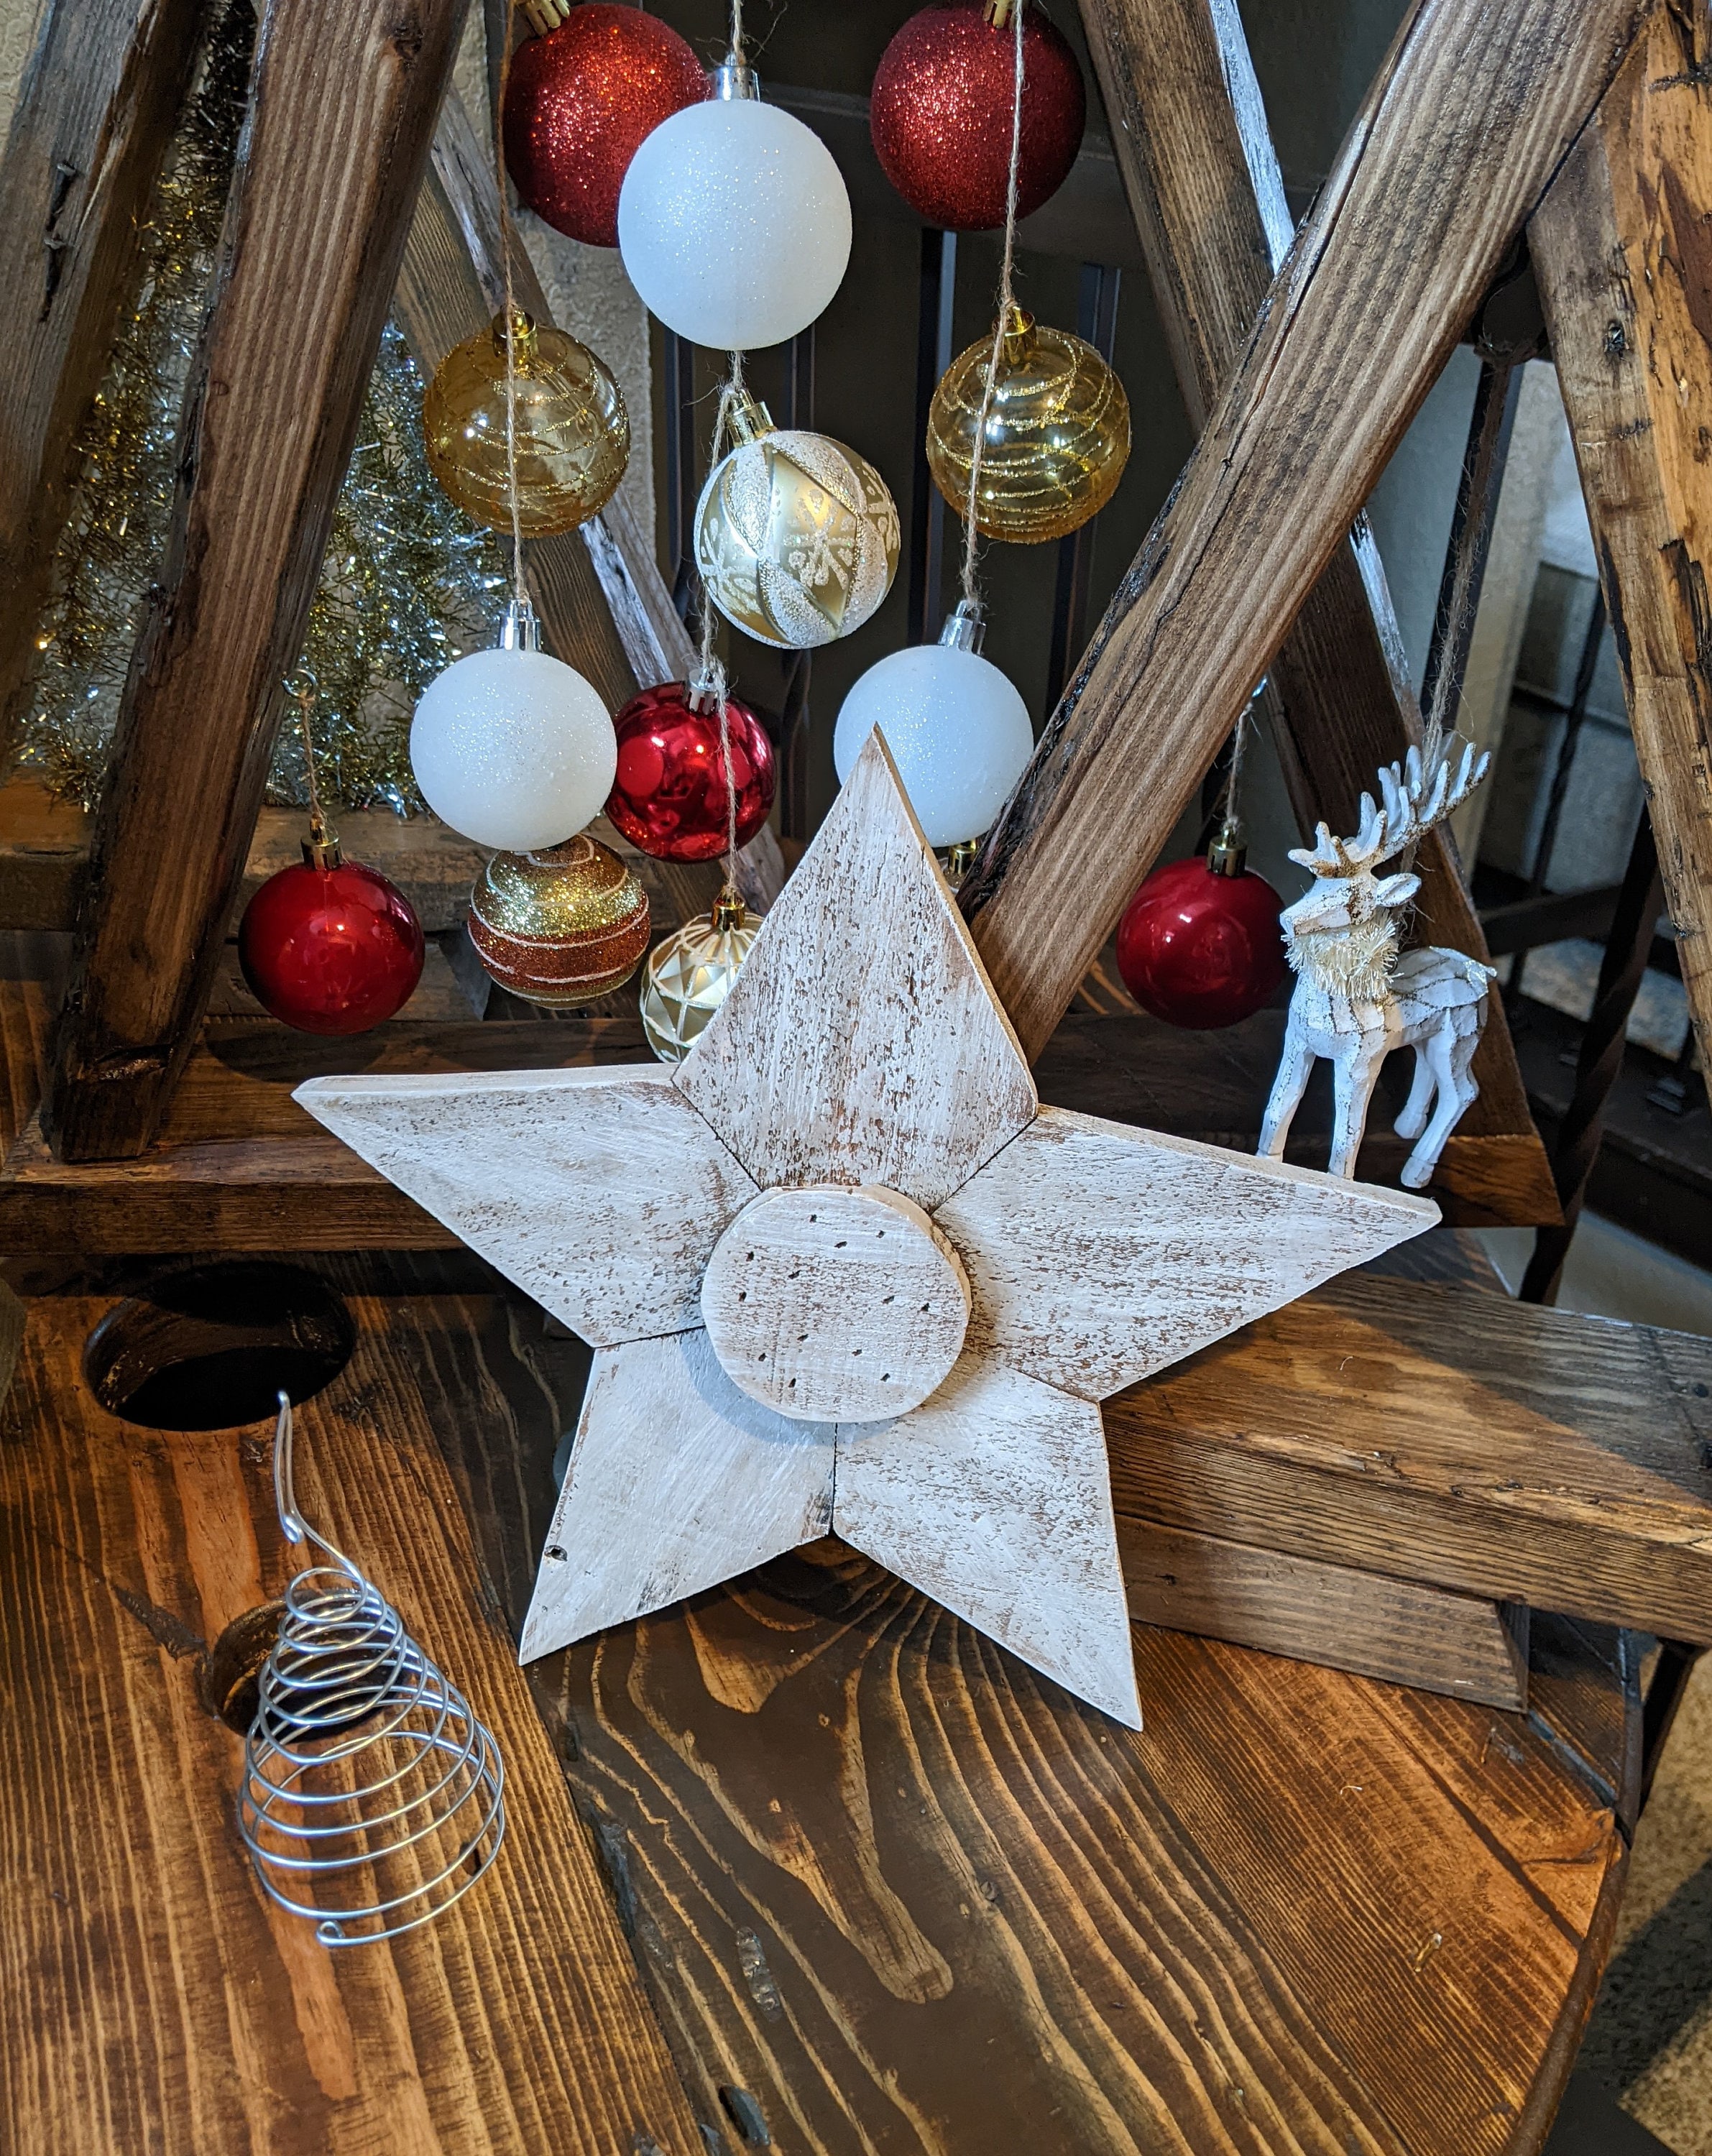
Rustic Wooden Star
A rustic wooden star brings a warm, natural vibe to your tree. It works well with farmhouse or country decorations.
You can make it from small wood pieces or twigs. Leave the wood natural or paint it lightly for charm.
Step-by-step Crafting Process
Making a Christmas tree star topper is a fun and simple craft. This guide will help you create a beautiful star for your tree. Follow each step carefully for the best result.
You will need some basic materials and tools. Take your time and enjoy the process of making your own festive decoration.
Preparing Your Workspace
Start by clearing a flat surface to work on. Make sure you have good lighting and all your tools nearby. This will keep your project organized and safe.
- Clear a large table or desk
- Gather scissors, glue, ruler, and pencil
- Have your crafting materials ready, like cardboard or foam board
- Use a cutting mat to protect the surface
- Keep paper towels or wipes handy for quick cleanups
Cutting And Shaping
Carefully cut out star shapes from your chosen material. Use a ruler and pencil to mark the lines. This makes sure your star looks neat and even.
| Material | Recommended Thickness | Cutting Tool |
| Cardboard | 3-5 mm | Sharp scissors |
| Foam Board | 5 mm | Craft knife |
| Felt | 2-3 mm | Fabric scissors |
Assembling The Star
Join the star pieces together using glue or tape. Hold each piece firmly until it sticks well. Add decorations or paint if you like.
- Apply glue to edges carefully
- Press pieces together for 30 seconds
- Wait at least 10 minutes for glue to dry
- Decorate with glitter, paint, or stickers
- Attach a small tube or clip to the back for fixing on the tree top
Decorating Tips
Creating a Christmas tree star topper yourself can add a special touch. It makes your tree look unique and festive. Here are some easy decorating tips to help your star topper stand out.
These ideas use simple materials and tricks. They bring charm and warmth to your holiday decor. Try one or combine them for a bright and cozy tree.
Adding Sparkle And Shine
Use glitter or metallic paint to make your star topper shine. This adds a festive glow that catches the eye. Small shiny beads or sequins also give a sparkling effect.
- Cover the star with silver or gold glitter
- Use metallic spray paint for a smooth shine
- Glue tiny beads for extra sparkle
- Mix glitter with glue for a textured look
Incorporating Lights
Adding small LED lights makes the star topper glow at night. Battery-operated fairy lights work well and are easy to hide. Wrap the lights gently around the star frame.
- Use warm white or colored LED lights
- Secure lights with thin wire or clear tape
- Choose battery-powered lights for easy setup
- Test lights before attaching to avoid issues
Using Natural Elements
Natural materials add a rustic and cozy feel to the star topper. Pinecones, twigs, and dried orange slices bring nature indoors. These items are easy to find and decorate with.
- Glue small pinecones or acorns to the star
- Wrap twine or thin branches around the frame
- Add dried flowers or leaves for color
- Use cinnamon sticks for scent and texture
Safety Precautions
Making a Christmas tree star topper is fun but requires care. Safety is important to avoid accidents.
Using the right tools and materials keeps you safe while crafting your star topper.
Use Safe Materials
Choose non-toxic and flame-resistant materials for your star topper. This reduces fire risk.
Avoid using dry leaves, paper, or easily flammable items near lights.
Handle Tools Carefully
Use scissors, glue guns, and wires with care. Follow the instructions for each tool.
- Keep sharp tools away from children
- Work on a stable surface
- Unplug glue guns when not in use
Secure The Star Properly
Make sure the star topper is firmly attached to the tree. Loose stars can fall and cause injury.
Use strong ties or clips made for tree decorations to keep the star steady.
Avoid Electrical Hazards
Do not place the star too close to electrical lights or wires. This prevents short circuits.
- Check for damaged wires before use
- Keep the star away from heat sources
- Use LED lights to reduce heat
Work In A Well-lit Area
Work in a bright place to see clearly. This helps avoid cutting or gluing mistakes.
Good lighting also reduces eye strain and accidents.
Credit: www.etsy.com
Displaying Your Star Topper
The star topper is the crowning piece of your Christmas tree. It brings light and charm to your festive decor.
Placing your star topper well can make your tree look balanced and beautiful. Let’s explore how to display it perfectly.
Securing The Topper
Keep your star topper steady to avoid it falling off. Use a strong base or support stick to hold it in place.
- Attach the topper to the top branch tightly.
- Use floral wire or zip ties if needed.
- Check the topper’s weight and balance before placing.
- Add extra support with a sturdy cone or foam base.
Balancing Proportions
Make sure the star topper matches the tree size. A very big star can look odd on a small tree.
| Tree Height | Recommended Star Size |
| 4 to 5 feet | 6 to 8 inches |
| 6 to 7 feet | 9 to 12 inches |
| 8 feet and above | 12 to 16 inches |
Enhancing Tree Aesthetics
Use lights and decorations to highlight your star topper. It should stand out as the tree’s focal point.
Creative Variations
Making a Christmas tree star topper can be fun and personal. You can create many different styles to fit your holiday mood. Here are some ideas to inspire your DIY projects.
Try unique designs that show your style. Use themes or eco-friendly materials to make your star topper special and kind to the planet.
Personalized Star Designs
Personalized star toppers add a special touch to your tree. You can decorate them with names, dates, or meaningful symbols. Use glitter, paint, or fabric to make your star unique.
- Write family names or initials on the star
- Add small photos inside a clear star
- Use different colors to match your room
- Attach tiny lights for a glowing effect
- Include small charms or keepsakes
Thematic Star Toppers
Themes make star toppers fun and match your holiday decor. Choose themes like winter, vintage, or fantasy. You can use materials and colors that fit the theme well.
| Theme | Materials | Colors |
| Winter Wonderland | White felt, silver glitter | White, silver, blue |
| Vintage Christmas | Wood, lace, old buttons | Red, green, gold |
| Fantasy | Glitter paper, LED lights | Purple, pink, gold |
Eco-friendly Alternatives
Eco-friendly star toppers help reduce waste. Use recycled or natural materials for a green holiday. These ideas keep your tree stylish and kind to nature.
Try these eco-friendly materials:
- Recycled cardboard shaped into stars
- Twigs tied with natural twine
- Old fabric scraps sewn or glued
- Dried flowers or leaves glued to base
- Biodegradable glitter for sparkle
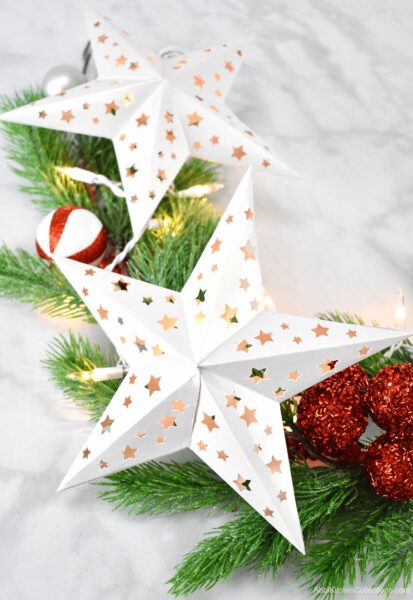
Credit: www.abbikirstencollections.com
Frequently Asked Questions
What Materials Are Best For A Christmas Tree Star Topper Diy?
Use lightweight materials like cardboard, foam board, or craft sticks. Add glitter, paint, or metallic paper for sparkle. These are easy to cut, shape, and decorate, making your star topper both sturdy and beautiful.
How Long Does It Take To Make A Star Topper?
A simple star topper can be made in 30 to 60 minutes. More detailed designs might take longer. Planning and gathering materials beforehand speeds up the process.
Can I Reuse My Diy Star Topper Each Year?
Yes, if stored carefully, your DIY star topper can last many years. Use durable materials and protect it from moisture and crushing. Store in a sturdy box to maintain its shape.
How Do I Attach The Star Topper Securely To The Tree?
Use a sturdy cone or cylinder base to slide over the tree top. Secure with tape, wire, or zip ties. Ensure it fits snugly to prevent falling during decoration or wind.
Conclusion
Creating your own Christmas tree star topper brings joy and pride. It adds a personal touch to holiday decorations. Crafting is simple and fun for the whole family. Use materials you like and get creative. Your star will shine bright on the tree.
This DIY project makes memories that last. Try it this season and enjoy the festive spirit. Celebrate with a unique star made by your hands. A special topper makes your tree stand out. Happy crafting and happy holidays!