Are you staring at those stubborn bathroom mirror clips and wondering how to get them off without damaging your mirror or wall? Removing mirror clips can seem tricky, especially if you want to avoid cracks or unnecessary mess.
But don’t worry—this guide will show you simple, step-by-step methods to safely remove those clips. By the end, you’ll feel confident handling your bathroom mirror like a pro. Keep reading to discover easy tips that save you time, effort, and frustration.
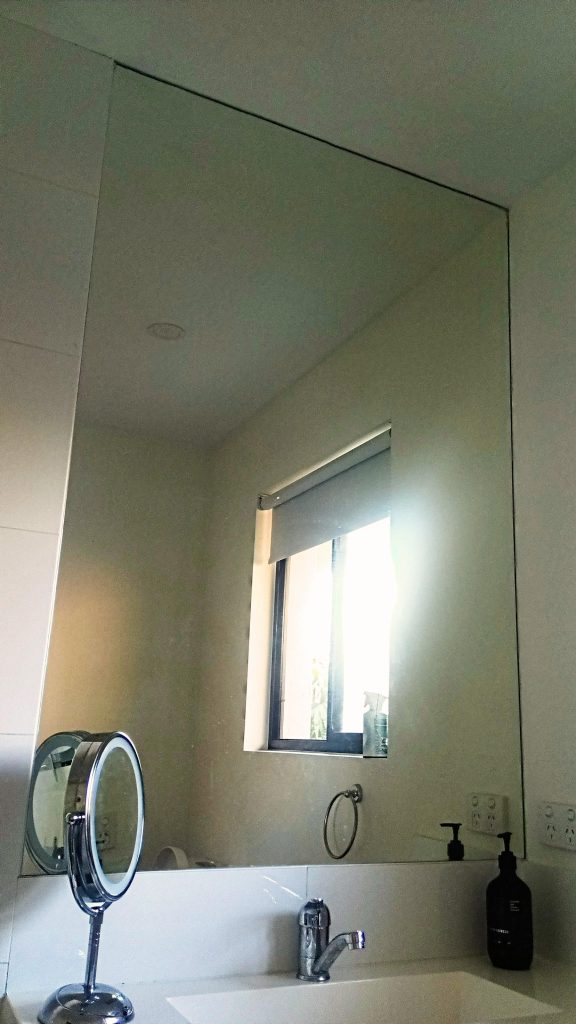
Credit: bfymirror.com
Tools And Materials Needed
Removing bathroom mirror clips is a simple task if you have the right tools. These tools help protect the mirror and wall during removal.
Gather everything before starting to make the process smooth and safe.
Screwdriver
A screwdriver helps you remove the screws holding the mirror clips in place. Use the right type to avoid damage.
- Flathead screwdriver for slotted screws
- Phillips screwdriver for crosshead screws
Putty Knife Or Thin Pry Bar
Use a putty knife or thin pry bar to gently lift the mirror clips. This tool helps avoid scratching the mirror or wall.
Safety Gloves
Wear safety gloves to protect your hands from sharp edges on the clips or broken glass. Gloves improve your grip too.
Protective Eyewear
Protective eyewear shields your eyes from glass shards or dust. Always wear goggles for safety during removal.
Soft Cloth Or Tape
Place a soft cloth or painter’s tape around the mirror edges. This prevents scratches and keeps the mirror secure.
Bucket Or Container
Use a bucket or container to hold screws and small parts. This keeps everything organized and easy to find later.
Safety Precautions
Removing bathroom mirror clips can be risky without the right care. You need to protect yourself and avoid damage.
Follow safety steps to keep the mirror and yourself safe during removal.
Wear Protective Gear
Always wear safety glasses to protect your eyes from glass shards. Use gloves to keep your hands safe from cuts.
- Safety glasses shield your eyes from flying pieces
- Gloves protect hands from sharp edges
- Wear long sleeves to avoid skin scratches
Clear The Area
Remove any items near the mirror before you start. This stops accidental damage and gives you space to work.
- Clear countertops and shelves
- Cover floors with a drop cloth
- Keep children and pets away
Use Proper Tools
Use the right tools like screwdrivers or pliers for the clips. Avoid forcing the clips off to prevent breakage.
- Choose tools that fit the clip size
- Work gently to avoid cracking the mirror
- Have a helper hold the mirror steady
Work Slowly And Carefully
Take your time when loosening mirror clips. Quick moves can cause the mirror to fall or break.
Check the clip’s tightness often and adjust your pressure as needed.
Have A Backup Plan
Prepare a soft surface or blanket to catch the mirror if it slips. Keep a first aid kit nearby for any accidents.
- Place a thick towel or blanket below the mirror
- Keep a first aid kit within reach
- Have a phone ready to call for help
Preparing The Area
Removing bathroom mirror clips needs careful preparation. This helps avoid damage and keeps you safe.
Start by clearing the space around the mirror. Make sure you have enough room to work comfortably.
Clear The Surrounding Space
Remove any objects near the mirror. This includes toiletries, towels, and decorations.
- Take off shelves or cabinets close to the mirror
- Move fragile items to a safe place
- Clear the sink and countertop
Protect The Floor And Walls
Protect surfaces under and around the mirror to catch falling clips or glass.
Gather Necessary Tools
Have the right tools ready before starting. This makes the process smoother and safer.
| Tool | Purpose |
| Flathead screwdriver | To pry mirror clips gently |
| Utility gloves | Protect your hands from sharp edges |
| Safety glasses | Shield your eyes from glass shards |
| Drop cloth or towels | Protect surfaces under the mirror |
Turn Off Bathroom Lighting
Switch off all lights near the mirror. This avoids electrical hazards if the mirror is near outlets or lights.
Loosening The Clips
Removing bathroom mirror clips is an easy task if done carefully. Loosening the clips helps release the mirror without damage.
This guide explains how to loosen the clips safely and prepare for mirror removal.
Gather The Right Tools
Before loosening the clips, collect the tools needed for the job. This prevents delays and keeps you safe.
- Flathead screwdriver
- Phillips screwdriver
- Putty knife
- Gloves for protection
- Soft cloth or towel
Protect The Mirror And Surrounding Area
Cover the mirror edges and surrounding wall to avoid scratches or damage during clip removal.
Tip:Place a soft cloth or painter’s tape around clips before loosening them.
Loosen The Clips Carefully
Use a screwdriver to gently loosen the screws holding the mirror clips. Avoid forcing the screws to prevent damage.
- Insert the screwdriver into the clip screw slot.
- Turn the screwdriver counterclockwise slowly.
- Check if the clip moves away from the mirror edge.
- Stop loosening if the clip feels loose enough to remove.
- Repeat for all clips around the mirror.
Check For Adhesives Or Caulk
Some mirrors have adhesive or caulk behind the clips. Carefully cut through with a putty knife if needed.
| Material | Tool to Use | Tip |
| Adhesive | Putty knife | Slide gently to avoid mirror damage |
| Caulk | Utility knife | Cut carefully around clip edges |
Removing The Mirror
Removing a bathroom mirror with clips needs care. You must avoid breaking the mirror or wall damage.
Use simple tools and take your time to remove the clips safely. Follow these steps to remove the mirror.
Gather The Right Tools
Before you start, get all the tools you need. This helps the job go smoothly and safely.
- Flathead screwdriver or putty knife
- Gloves to protect your hands
- Safety glasses
- Towels or blankets to place the mirror on
- Helper to assist with large mirrors
Loosen The Mirror Clips
Use a flathead screwdriver or putty knife to gently lift the clips. Do this slowly to avoid cracking the mirror.
Start with the bottom clips and then move to the sides and top. This helps the mirror come off evenly.
- Insert tool under the clip edge
- Gently pry the clip away from the mirror
- Move clips just enough to release the mirror
Remove The Mirror Safely
After clips loosen, carefully lift the mirror off the wall. Use gloves to protect your hands from sharp edges.
Ask a helper to hold the mirror if it is large or heavy. Place the mirror on a soft surface to avoid damage.
- Lift mirror slowly and evenly
- Keep mirror close to the wall until free
- Place mirror on towel or blanket
- Check wall for damage or leftover clips
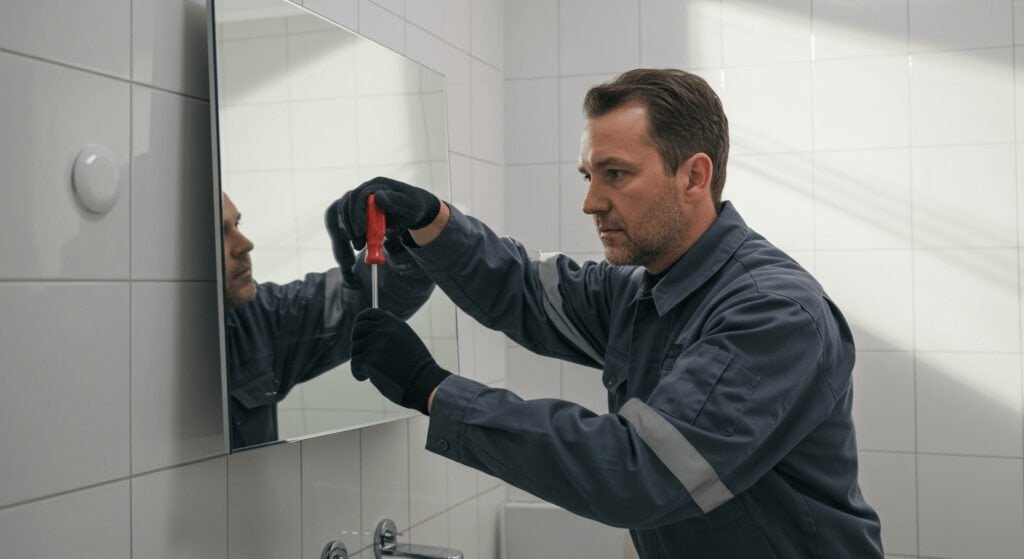
Credit: bfymirror.com
Cleaning Up After Removal
Removing bathroom mirror clips can leave behind residue and marks. Cleaning up ensures the wall looks neat and ready for a new mirror or paint.
Use gentle methods to avoid damaging your bathroom walls or tiles during cleanup.
Removing Adhesive Residue
After taking off the clips, sticky glue or adhesive might remain. Use a soft cloth with warm soapy water first. If residue stays, try rubbing alcohol or an adhesive remover.
Fixing Wall Marks And Holes
Small holes or marks may appear where clips were fixed. Fill holes with spackle or wall filler. Smooth it with a putty knife and let it dry fully. Sand the area lightly for a smooth finish.
- Apply spackle with a putty knife
- Let it dry as per instructions
- Sand gently with fine-grit sandpaper
- Wipe dust off with a damp cloth
Cleaning Glass And Surrounding Areas
Wipe the mirror glass carefully if still attached. Use glass cleaner and a microfiber cloth to remove fingerprints and dust. Clean the surrounding wall area to remove any dust or debris from the removal process.
| Cleaning Material | Use For |
| Warm Soapy Water | General residue and dirt |
| Rubbing Alcohol | Sticky adhesive removal |
| Spackle | Filling holes and cracks |
| Glass Cleaner | Cleaning mirror surface |
| Microfiber Cloth | Wiping glass and surfaces |
Tips For Avoiding Damage
Removing bathroom mirror clips needs care. Mirrors can break or chip easily.
Follow these tips to protect your mirror and walls during removal.
Use The Right Tools
Choose tools that fit the clips and won’t scratch the mirror. Small flathead screwdrivers work well.
Wear gloves to avoid cuts if the mirror breaks.
Protect The Mirror Surface
Place painter’s tape around the clips to guard the mirror edges. This tape stops scratches and chips.
Cover the mirror with a soft cloth for extra protection.
Loosen Clips Gently
Do not force the clips off quickly. Slowly wiggle or pry them to avoid cracks.
- Apply light pressure to one side at a time
- Use a plastic wedge if needed to prevent damage
- Stop if you feel strong resistance and try another angle
Support The Mirror While Removing Clips
Hold the mirror firmly to keep it stable. This stops it from falling or bending.
Ask someone to help if the mirror is large or heavy.
Check For Hidden Fasteners
Some clips have hidden screws or nails. Look carefully before prying.
Remove any fasteners first to avoid breaking the clip or mirror.
Troubleshooting Common Issues
Removing bathroom mirror clips can be tricky. Some clips are old, rusty, or stuck tight. This guide helps you fix common problems you might face.
Knowing how to handle these issues saves time and prevents damage to your mirror or wall. Read on for tips on common troubles and how to solve them.
Stuck Or Rusty Clips
Rust or paint can cause clips to stick. Use a rust remover or apply a penetrating oil. Let it soak for 10–15 minutes before trying to remove the clip again.
- Wear gloves to protect your hands.
- Use a flathead screwdriver to gently pry the clip.
- If clips break, replace them with new ones.
Clips Without Screws
Some clips snap on without screws. These need careful prying. Use a thin putty knife or plastic pry tool. Slide it under the clip edge and lift gently.
Damaged Wall Or Mirror
Removing clips can sometimes cause wall or mirror damage. Check for cracks or holes. Repair small holes with spackle. For mirror chips, use clear epoxy to prevent spreading.
| Issue | Cause | Solution |
| Clip won’t move | Rust or paint | Apply rust remover, wait, then pry gently |
| Clip snaps on | No screws, tight fit | Use plastic pry tool carefully |
| Wall holes | Old screws or rough removal | Fill holes with spackle and sand smooth |
| Mirror chips | Pressure during clip removal | Use clear epoxy to seal chips |

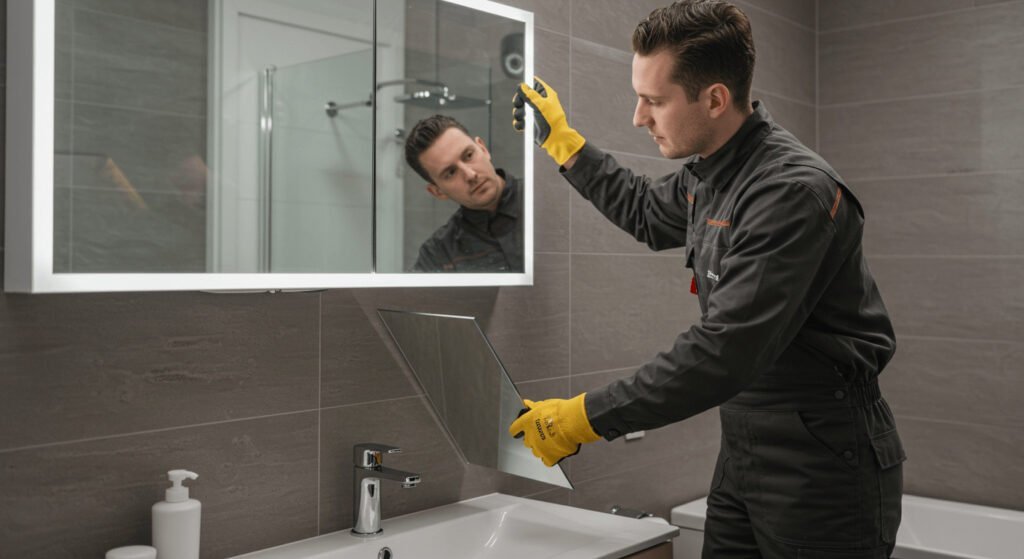
Credit: www.reddit.com
Frequently Asked Questions
How Do I Safely Remove Bathroom Mirror Clips?
First, loosen the screws or bolts holding the clips using a screwdriver. Gently slide the clips away from the mirror edges. Avoid applying too much force to prevent glass breakage. Use gloves for protection and work slowly to ensure safety.
What Tools Are Needed To Remove Mirror Clips?
You need a flathead or Phillips screwdriver, gloves, and possibly pliers. A putty knife can help loosen clips stuck with adhesive. Having a soft cloth nearby prevents scratching the mirror during removal.
Can I Reuse Bathroom Mirror Clips After Removal?
Yes, if the clips are undamaged and rust-free, they can be reused. Clean them thoroughly before reinstalling. Replace any clips that show signs of wear to ensure the mirror stays secure.
How Do I Prevent Mirror Damage During Clip Removal?
Wear gloves and work slowly to avoid slips. Use the correct screwdriver size to prevent stripping screws. Support the mirror while removing clips to prevent it from falling or cracking.
Conclusion
Removing bathroom mirror clips is easier than it seems. Use the right tools and work slowly. Take care not to damage the mirror or wall. Small steps help avoid accidents and extra repairs. With patience, you can remove the clips safely.
Now, you can replace or clean your mirror with confidence. Simple tips make this task doable for everyone. Keep these ideas in mind for your next bathroom project.