
Are you staring at your bathroom mirror, wondering how to take it off without causing damage or making a big mess? Removing a bathroom mirror might seem tricky, but with the right steps, you can do it safely and quickly.
Whether you’re upgrading your space, fixing a broken mirror, or just need to clean behind it, this guide will walk you through everything you need to know. Keep reading, and you’ll gain the confidence to handle your bathroom mirror removal like a pro.

Credit: www.reddit.com
Preparation And Tools
Taking off a bathroom mirror needs careful preparation. You must gather the right tools and follow safety steps.
Using proper tools and safety measures helps prevent damage and injury during the removal process.
Gather Necessary Tools
Before removing the mirror, get all the tools you will need. This makes the job easier and faster.
- Utility knife to cut caulking or paint
- Putty knife or scraper to loosen the mirror
- Flat pry bar for gentle leverage
- Gloves to protect your hands
- Safety goggles to shield your eyes
- Soft cloth or blanket to place the mirror on
- Screwdriver if the mirror has screws or clips
Safety Precautions
Safety is very important when removing a bathroom mirror. Mirrors can break and cause injury.
Wear gloves and goggles to protect your skin and eyes. Work slowly and carefully to avoid accidents.
- Wear thick gloves to stop cuts from broken glass
- Put on safety goggles to protect your eyes
- Clear the area of objects that can cause tripping
- Ask for help if the mirror is large or heavy
- Place a soft cloth under the mirror to catch it if it falls
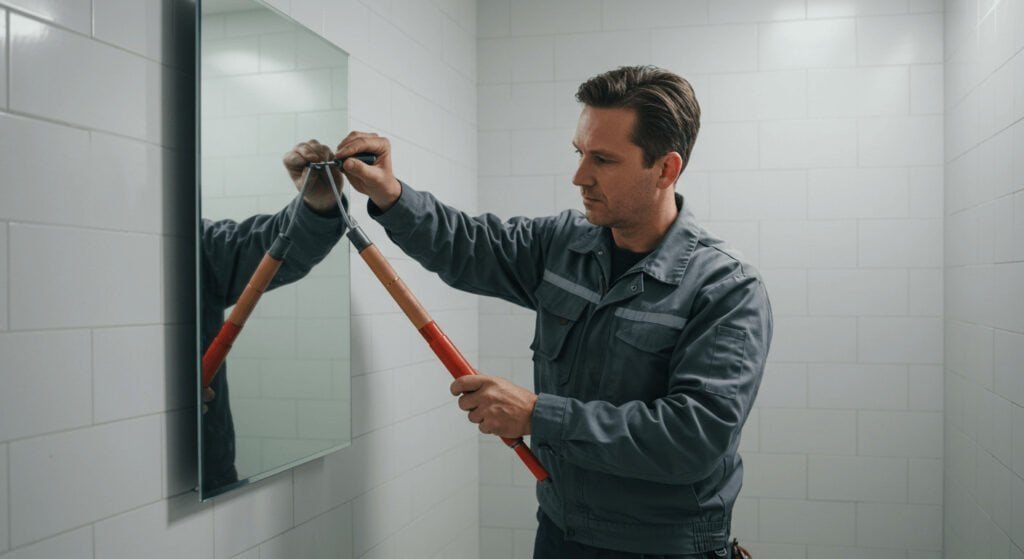
Credit: bfymirror.com
Assessing Mirror Attachment
Before you remove a bathroom mirror, you must check how it is attached. This helps you avoid damage to the wall or mirror.
Different mirrors use different mounting styles. Knowing the type makes the removal easier and safer.
Identify Mounting Method
Look closely at the edges and back of the mirror. See if it has visible brackets, screws, or just sits on a frame.
Some mirrors hang like pictures with hooks or wire. Others are glued or clipped directly to the wall.
- Mounted with screws or brackets
- Hanging with hooks or wire
- Glued directly to the wall
- Held by clips on the sides
Check For Adhesive Or Clips
Check if the mirror is stuck with glue or held by small metal or plastic clips. Adhesive mirrors need careful prying.
Clips usually sit around the edges. They hold the mirror firmly but allow removal if you loosen them first.
- Adhesive may appear as a shiny or hardened area behind the mirror
- Clips are small, often metal pieces around the mirror edge
- Use a putty knife or similar tool to test for looseness
- Do not force if the mirror feels stuck; check attachment again
Removing Clip-mounted Mirrors
Bathroom mirrors mounted with clips can be removed safely with the right tools and care. This guide explains how to take off clip-mounted mirrors without damage.
Before starting, gather gloves, a screwdriver, and a soft blanket to protect the mirror and yourself.
Loosen And Remove Clips
First, identify the clips holding the mirror on the wall. These clips are usually metal or plastic and grip the edges of the mirror.
- Put on gloves to protect your hands from sharp edges.
- Use a screwdriver to gently loosen the screws on each clip.
- Keep the screws and clips in a safe place for reinstallation.
- Do not remove all clips at once; leave one or two for support.
Safely Detach Mirror
After loosening the clips, carefully lift the mirror away from the wall. Keep the mirror steady to avoid dropping or cracking it.
| Tip | Reason |
|---|---|
| Support mirror with one hand | Prevents mirror from falling |
| Place mirror on a soft surface | Protects glass from scratches |
| Have a helper if mirror is large | Improves safety and control |
Taking Off Adhesive-mounted Mirrors
Removing a bathroom mirror stuck with adhesive needs care. You must avoid breaking the mirror or damaging the wall.
Use simple tools and take your time. This guide helps you remove the mirror safely.
Cut Through Adhesive
Start by cutting the adhesive that holds the mirror to the wall. This loosens the mirror without breaking it.
Use a strong, thin cutting tool like a utility knife or a wire saw designed for this job.
- Wear safety glasses to protect your eyes.
- Carefully slide the tool between the mirror and wall.
- Move the tool slowly to cut through all adhesive areas.
- Check the mirror often to see if it is loose.
Pry Mirror Gently
After cutting the adhesive, gently pry the mirror away from the wall. Use a soft tool to avoid damage.
Start at one corner and work your way around. Do not force the mirror if it feels stuck.
- Use a plastic putty knife or a similar soft tool.
- Place a cloth under the tool to protect the wall and mirror.
- Lift the mirror slowly and carefully.
- Ask for help if the mirror is large or heavy.
Handling Large Or Heavy Mirrors
Removing a large or heavy bathroom mirror needs care and planning. These mirrors can be difficult to handle alone.
Using the right support and teamwork helps prevent damage and injury.
Use Additional Support
Extra support keeps the mirror steady during removal. It protects the glass and walls from damage.
- Place a padded surface below the mirror to catch it if it slips.
- Use suction cups designed for glass to get a better grip.
- Brace the mirror with wooden blocks or foam on both sides for balance.
- Keep tools like a putty knife or wire cutters ready to free the mirror.
Work With A Partner
Having a partner makes it safer and easier to remove heavy mirrors. Both people share the weight and watch for hazards.
| Partner Tasks | Purpose |
| One holds the mirror firmly | Prevents falling or slipping |
| One removes screws or clips | Frees the mirror carefully |
| Both communicate clearly | Coordinates movements |
| Both move slowly and steadily | Avoids sudden shifts |
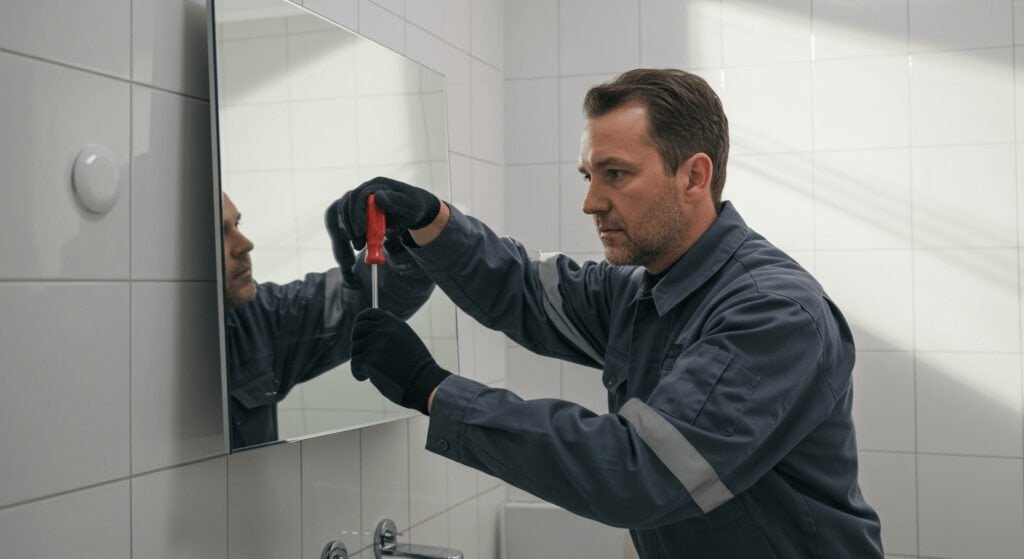
Credit: bfymirror.com
Cleaning And Final Touches
After removing a bathroom mirror, cleaning and final touches are important. These steps help prepare the wall for the next use.
Removing leftover adhesive and checking the wall will keep your bathroom looking neat and ready for new decor.
Clean Adhesive Residue
Sticky glue or adhesive often remains on the wall after the mirror is taken down. Removing this residue prevents damage and improves the wall’s look.
Use a soft cloth and a gentle adhesive remover or warm soapy water. Rub gently to avoid harming the wall surface.
- Apply adhesive remover or soapy water to residue
- Let it sit for a few minutes to soften glue
- Gently rub with a soft cloth or sponge
- Wipe the area clean with a damp cloth
- Dry the wall with a soft towel
Inspect Wall Surface
After cleaning, check the wall for any damage or marks. Look for cracks, holes, or paint peeling.
Fix small holes with wall putty and sand smooth. Touch up paint if needed to keep the wall clean and fresh.
- Look for cracks or holes on the wall
- Fill small holes with wall putty
- Sand the patched areas smooth
- Apply touch-up paint if needed
- Let everything dry before adding new decor
Disposal And Recycling
Removing a bathroom mirror creates waste you must handle safely. Proper disposal stops injuries and environmental harm.
Recycling mirror glass is possible but requires special care. This guide covers disposal and recycling methods.
Safe Disposal Methods
Mirrors contain glass and sometimes metal parts. These materials need careful handling for disposal.
- Wrap the mirror in thick cloth or cardboard to avoid breakage.
- Label the package as “Broken Glass” for safety.
- Check local regulations for glass disposal rules.
- Take large mirrors to a hazardous waste or bulky item collection site.
- Do not throw mirrors in regular trash if banned by your city.
Recycling Options
Many recycling centers accept mirror glass but rules vary. Some centers recycle only flat glass.
| Recycling Center | Accepts Mirror Glass | Notes |
| City Recycling Facility | Depends | Call before dropping off |
| Glass Recycling Plant | Yes | May require clean, unbroken glass |
| Scrap Metal Yard | Sometimes | Accepts metal frame parts only |
Frequently Asked Questions
How Do I Safely Remove A Bathroom Mirror?
Turn off power if mirror has lights. Use a utility knife to cut caulk. Gently pry mirror with a putty knife. Have a helper support the mirror’s weight. Remove mounting clips or screws carefully.
What Tools Are Needed To Take Off A Bathroom Mirror?
You will need a utility knife, putty knife, screwdriver, and gloves. Optional tools include a pry bar and suction cups. These tools help you cut caulk, loosen adhesive, and safely remove the mirror.
Can I Remove A Glued Bathroom Mirror Myself?
Yes, you can remove a glued mirror, but it requires patience. Cut the caulk and use a putty knife to break the adhesive seal. Avoid bending the mirror to prevent breaking it. Always wear protective gear.
How To Avoid Damage When Removing Bathroom Mirrors?
Use proper tools like putty knives and utility knives. Cut the caulk thoroughly before prying. Work slowly and have a helper support the mirror. Avoid using excessive force to prevent cracking or breaking.
Conclusion
Removing a bathroom mirror can seem tricky but is quite simple. Take your time and follow each step carefully. Use the right tools and protect yourself from broken glass. Work slowly to avoid damage to walls or tiles. After removing the mirror, clean the area well before installing a new one.
This guide helps you handle the task safely and with confidence. Now, you are ready to update your bathroom mirror without stress.