
Are you staring at that bathroom mirror, wondering how to remove it without making a mess or damaging your wall? How to Remove Bathroom Mirror With Screws might sound tricky, but with the right steps, you can do it quickly and safely.
In this guide, you’ll learn exactly what tools you need and how to handle each step like a pro. Keep reading, and you’ll be ready to remove your bathroom mirror with confidence—no stress, no hassle.
Tools And Materials Needed
Removing a bathroom mirror with screws needs the right tools. Using the right materials helps keep the job safe and easy.
Gather all tools before you start. This saves time and avoids problems during removal.
Screwdriver
A screwdriver fits the screws holding the mirror. Most bathroom mirrors use Phillips or flathead screws.
Choose a screwdriver that matches the screw head. This prevents slipping and damage.
Safety Glasses
Safety glasses protect your eyes from dust and glass shards. Mirrors can break during removal.
Always wear safety glasses before starting any work on the mirror.
Work Gloves
Work gloves protect your hands from cuts and sharp edges. Mirrors and screws can cause injuries.
Wear gloves to get a better grip and keep your hands safe.
Putty Knife Or Utility Knife
A putty knife helps loosen any adhesive behind the mirror. Some mirrors have glue along with screws.
A utility knife can cut through caulk or paint sealing the mirror edges.
Drop Cloth Or Old Towels
Place a drop cloth or old towels under the mirror. This protects the floor from glass or dirt.
The cloth also cushions the mirror if it falls during removal.
Tape
Use tape to cover the mirror surface. This helps keep glass pieces together if the mirror breaks.
Masking or painter’s tape works well for this job.
Safety Precautions
Removing a bathroom mirror with screws can be tricky. Safety is very important to avoid injuries.
Follow these safety tips before you start taking the mirror down.
Wear Protective Gear
Always wear gloves to protect your hands from sharp edges. Safety glasses keep glass shards out of your eyes.
Use long sleeves to protect your arms from scratches or cuts.
Turn Off Bathroom Lights
Switch off the lights before you start. This prevents electric shocks if wires are near the mirror.
Make sure the area is well-lit with natural light or a portable lamp.
Clear The Area
Remove any objects below or near the mirror. This helps prevent damage if the mirror falls.
Keep children and pets out of the workspace to avoid accidents.
Use Proper Tools
Use the right screwdriver that fits the screws well. This stops slips and damage.
- Screwdriver (Phillips or flat-head)
- Gloves and safety glasses
- Putty knife or flat tool (optional)
Work Slowly And Carefully
Do not rush. Unscrew slowly and support the mirror with your other hand.
If the mirror is stuck, gently use a flat tool to loosen it. Avoid forcing it off.
Preparation Steps
Removing a bathroom mirror with screws needs careful preparation. This helps keep you safe and avoids damage.
Before starting, clear the area and wear proper protective gear. These steps will make the job easier.
Clear The Area
Clear the space around the mirror to avoid accidents and protect your belongings. Remove items from the sink and nearby shelves.
- Take away toiletries and decorations
- Place a drop cloth or old towel below the mirror
- Move furniture away from the wall if possible
- Ensure good lighting in the workspace
Protective Gear
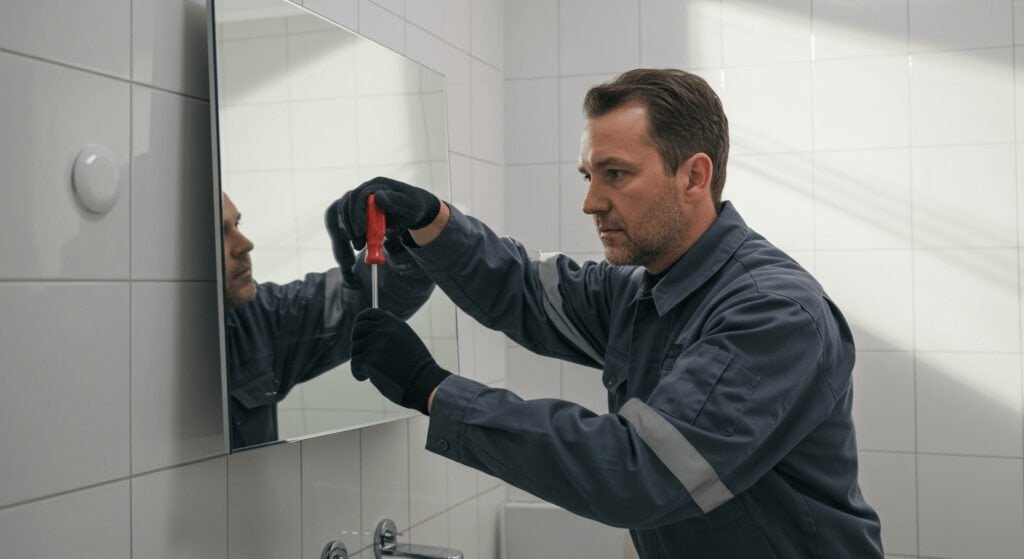
Wear protective gear to keep yourself safe from glass and dust. Safety is important during removal.
| Protective Item | Purpose |
| Safety Glasses | Protects eyes from glass shards |
| Gloves | Prevents cuts and improves grip |
| Long Sleeve Shirt | Protects arms from scratches |
| Dust Mask | Prevents inhaling dust and debris |
Credit: bfymirror.com
Locating The Screws
Removing a bathroom mirror with screws requires finding where the screws are. The screws hold the mirror in place.
Knowing the screw location helps you remove the mirror safely and without damage.
Inspect The Mirror
Look closely at the edges and corners of the mirror. Screws often hide behind caps or clips. Check if the mirror has a frame or if it is mounted directly on the wall.
Identify Screw Placement
- Check the top corners of the mirror for visible screw heads.
- Look along the sides and bottom edges for any mounting hardware.
- Feel around the frame to find any hidden screws covered by paint or caulk.
- Use a flashlight to spot shiny metal parts behind the mirror or frame.
- Mark screw spots lightly with a pencil for easy removal later.
Loosening The Screws
Removing a bathroom mirror with screws needs care. Loosening the screws is the key step.
You must use the right tools and move slowly. This helps avoid damage to the mirror or wall.
Select The Right Screwdriver
Choose a screwdriver that fits the screw heads exactly. Using the wrong size can strip the screws.
Check if your screws are flathead, Phillips, or another type. Pick a matching screwdriver for best grip.
- Flathead screws need a flat-blade screwdriver
- Phillips screws need a cross-shaped screwdriver
- Use a screwdriver with a comfortable handle
Gently Unscrew
Turn the screwdriver slowly to loosen each screw. Avoid forcing the screw to stop damage.
If a screw feels stuck, try rocking the screwdriver gently. This helps loosen it without stripping.
- Keep pressure on the screwdriver to avoid slipping
- Turn screws counterclockwise to loosen
- Remove screws one by one to keep the mirror balanced
Removing The Mirror Safely
Removing a bathroom mirror with screws requires care. You must avoid breaking the glass or hurting yourself.
This guide helps you remove the mirror safely and with ease.
Support The Mirror
Before loosening the screws, hold the mirror firmly. This stops it from falling or cracking.
Ask someone to help you if the mirror is large or heavy.
- Wear gloves to protect your hands
- Use a soft cloth to cover the mirror edges
- Place a towel or blanket on the floor below
- Hold the mirror steady while loosening screws
Carefully Detach
Use the right screwdriver to remove screws slowly. Do not force them out.
Keep holding the mirror as you remove each screw. After all screws are out, gently pull the mirror from the wall.
- Remove screws one at a time
- Keep your hands on the mirror at all times
- Lift the mirror straight out to avoid damage
- Set the mirror down on a soft surface
Cleaning The Area
After removing a bathroom mirror with screws, clean the wall carefully. Dirt and leftover materials can cause problems later.
Cleaning helps prepare the surface for painting or installing a new mirror.
Remove Adhesive Residue
Mirrors often leave sticky glue or adhesive on the wall. Remove this residue to make the surface smooth.
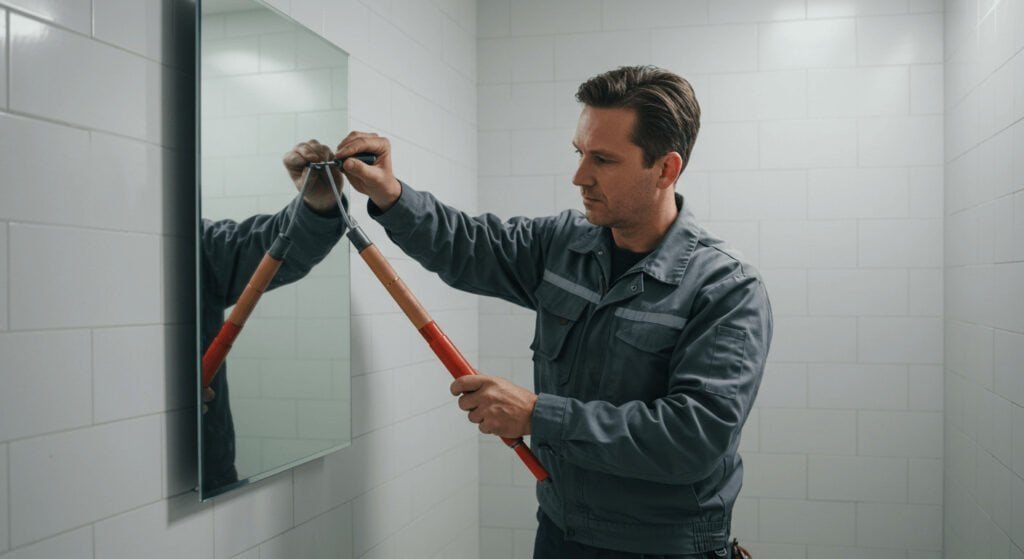
Use a plastic scraper or putty knife to gently lift the adhesive. Avoid scratching the wall.
- Apply warm water or rubbing alcohol to soften the glue
- Scrape off the softened adhesive carefully
- Repeat until all residue is gone
Wipe Down Surface
After removing adhesive, wipe the surface with a clean cloth. This removes dust and small debris.
Use mild soap and water for a thorough clean. Dry the area well before any further work.
Credit: bfymirror.com
Disposing Of The Mirror
Removing a bathroom mirror with screws leaves you with glass and a frame. Proper disposal is important for safety and the environment.
Learn how to recycle or handle the mirror carefully before throwing it away.
Recycling Options
Many mirrors can be recycled but not all recycling centers accept them. Check local rules before disposal.
- Contact your local recycling center for mirror acceptance
- Separate glass from the frame for easier recycling
- Donate the mirror if it is in good condition
- Use a recycling program that handles glass and metal parts
Safe Handling Tips
Mirrors break easily and can cause injury. Follow these tips to stay safe.
| Tip | Description |
| Wear gloves | Protect your hands from sharp edges |
| Use eye protection | Prevent glass shards from hitting your eyes |
| Wrap mirror in thick cloth or bubble wrap | Keep glass pieces secure during transport |
| Dispose of broken glass carefully | Place shards in a rigid container before trashing |

Credit: www.reddit.com
Frequently Asked Questions
How Do I Safely Remove A Bathroom Mirror With Screws?
First, turn off the bathroom light to avoid accidents. Use a screwdriver to carefully unscrew the mirror brackets. Support the mirror with one hand while removing screws to prevent it from falling. Gently lift the mirror away from the wall.
What Tools Are Needed To Remove A Screw-mounted Mirror?
You will need a flathead or Phillips screwdriver, depending on screw type. A pair of gloves can protect your hands. A putty knife helps to loosen any adhesive behind the mirror. A helper can assist with holding the mirror safely.
Can I Reuse Screws After Removing The Mirror?
Yes, you can reuse screws if they are undamaged and rust-free. Inspect them closely before reuse. If screws are stripped or bent, replace them with new ones for secure mounting. Using the right screws ensures mirror stability.
How To Prevent Wall Damage When Removing A Mirror?
Remove screws slowly and avoid forcing the mirror off the wall. Use a putty knife to gently separate any adhesive. Patch any minor holes with spackling paste. Sand and repaint the area to restore the wall’s appearance.
Conclusion
Removing a bathroom mirror with screws is simple and safe. Start by gathering the right tools and working slowly. Unscrew each fastener carefully to avoid damage. Keep the mirror steady while you remove it. Clean the wall after the mirror is gone.
This method saves time and prevents mess. Try these steps for your next mirror removal. You will feel confident handling small home projects. Easy to follow and effective every time.