
Are you staring at a blank wall, unsure how to turn it into a stunning display of your favorite memories? Hanging a collage of frames might seem tricky, but it’s easier than you think—and the result can transform your space instantly.
Imagine walking into a room where your photos, art, and keepsakes come together perfectly, telling your story with style. In this guide, you’ll discover simple, step-by-step tips to arrange and hang your frames like a pro. Keep reading, and soon your walls will be bursting with personality and charm.
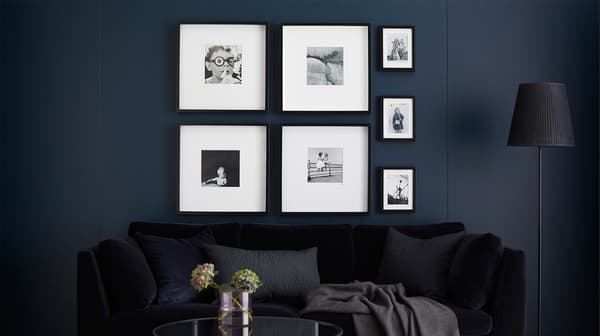
Credit: www.ikea.com
Choosing The Right Wall
Choosing the right wall is important to hang your collage of frames well. The wall should fit the size and style of your collection. It should also enhance the room’s look and feel.
We will look at how to assess space, consider lighting, and find a good focal point for your collage. These tips help make your frames stand out and look balanced.
Assessing Available Space
Measure the wall space where you want to hang your collage. Make sure there is enough room for all the frames without crowding. Consider the height and width carefully.
- Use a tape measure to find wall dimensions
- Leave some empty space around the collage for balance
- Avoid walls with too many other decorations
- Check for obstacles like light switches or vents
Considering Room Lighting
Good lighting makes your collage more visible and attractive. Natural light works best but avoid direct sunlight. Too much light can fade the frames and photos.
| Lighting Type | Best Use | Notes |
| Natural Light | Bright rooms | Soft, indirect light is ideal |
| Overhead Lighting | Even illumination | Use dimmers to control brightness |
| Spotlights | Highlight specific frames | Avoid glare and shadows |
Selecting A Focal Point
Pick a wall that can act as a focal point in the room. This draws attention to your collage. A wall behind a sofa or above a fireplace works well.
Focal Point Tips:
- Choose a wall that guests see first
- Keep the area around the wall neat
- Use contrasting wall colors to highlight the collage
- Make sure the wall size fits your collage layout
Selecting Frames And Photos
Choosing the right frames and photos is key to making a wall collage look great. Your selection sets the style and mood of the display.
Think about how frames and photos work together. This helps create a balanced and interesting collage.
Mixing Frame Styles
Mix different frame styles to add character to your collage. Use a mix of modern and classic frames for variety.
Try combining wood, metal, and painted frames. This adds texture and depth to the wall.
- Use similar colors to keep frames unified
- Mix frame finishes like matte and glossy
- Include simple and ornate frames for contrast
Choosing Photo Themes
Select photos that share a common theme. This helps the collage tell a story or match your room’s style.
Choose from family moments, travel pictures, or nature shots. Keep themes consistent to avoid visual clutter.
- Black and white photos for a classic look
- Color photos for a lively atmosphere
- Mix portraits and landscapes carefully
Balancing Sizes And Shapes
Use different frame sizes and shapes to create interest. Balance large and small frames evenly across the wall.
Mix squares, rectangles, and circles to keep the collage dynamic but balanced.
- Place large frames near the center or bottom
- Fill gaps with smaller frames or shapes
- Keep similar shapes apart for balance
Planning The Layout
Planning the layout is the first step to hang a collage of frames. It helps create a balanced and attractive wall display. Taking time to plan saves effort and avoids mistakes.
Choose a style that fits your room and personal taste. You can arrange frames on the floor or try different shapes on the wall before hanging.
Arranging On The Floor First
Place all your frames on the floor to see how they fit together. This method lets you move pieces easily. You can test different groupings until you find one you like.
- Start with the biggest frame in the center or at a focal point.
- Place smaller frames around it to fill gaps.
- Keep equal space between frames for a neat look.
- Take a photo to remember the layout before hanging.
Creating A Symmetrical Display
A symmetrical display feels calm and balanced. You mirror frames on each side of a center line or point. This style works well in formal or traditional rooms.
| Tip | Description |
| Choose Pairs | Use frames of the same size and shape in pairs. |
| Align Edges | Keep top or bottom edges on the same horizontal line. |
| Center Focus | Place the largest or most important frame in the center. |
| Even Spacing | Keep space equal between all frames for balance. |
Opting For An Asymmetrical Design
Asymmetrical designs look modern and dynamic. They do not mirror frames but still feel balanced. Use size, color, and shape to create harmony.
Try this simple checklist for an asymmetrical layout:
- Place the largest frame off-center.
- Balance with smaller frames on the opposite side.
- Mix vertical and horizontal frames for interest.
- Use colors or themes to connect different frames.
- Keep uneven but visually balanced spacing.

Credit: jasperandjute.co.za
Preparing The Wall
Hanging a collage of frames looks great with good preparation. Preparing the wall helps the frames stay secure and look neat.
Take time to clean, measure, and mark the wall. These steps make your collage look balanced and straight.
Cleaning And Measuring
Clean the wall to remove dust and dirt. A clean surface helps the tape or nails stick better.
Measure the wall space to know where your collage will fit. Use a tape measure to check height and width.
- Wipe wall with a damp cloth
- Let the wall dry completely
- Measure the area for the collage
- Note the measurements to plan frame layout
Marking With Painter’s Tape
Use painter’s tape to mark the spots for each frame. Painter’s tape does not damage paint and is easy to remove.
Place tape on the wall where the top edges of frames will go. This helps you see the layout before hanging.
- Cut small pieces of painter’s tape
- Stick tape at frame edges or corners
- Label each tape piece if needed
- Step back and check the layout
Using A Level For Accuracy
A level helps ensure frames hang straight. This makes your collage look neat and professional.
Place the level on the tape marks or frame edges. Adjust the tape until the bubble is centered.
- Hold the level horizontally on the wall
- Move tape or marks until level shows straight
- Check each frame spot for accuracy
- Confirm all marks line up well before hanging
Hanging Techniques
Hanging a collage of frames on the wall can create a beautiful display. Using the right technique helps keep frames secure and aligned.
Choosing the best method depends on your wall type and frame weight. This guide covers nails, adhesive strips, and alignment tips.
Using Nails And Hooks
Nails and hooks are strong and work well for heavy frames. They hold frames firmly in place on most walls.
Use a hammer to gently tap nails into the wall at the right height. Hooks can be attached to nails for extra support.
- Choose nails or hooks based on frame weight
- Use a level to mark exact spots
- Tap nails carefully to avoid wall damage
- Hang frames and check stability
Employing Adhesive Strips
Adhesive strips are easy to use and do not damage walls. They work best for light to medium frames.
Clean the wall surface before applying strips. Press strips firmly on the frame and wall to ensure a strong bond.
- Pick strips rated for your frame weight
- Avoid rough or dusty walls
- Press strips for 30 seconds to stick well
- Remove strips slowly to avoid wall marks
Adjusting For Perfect Alignment
Aligning frames evenly makes the collage look neat. Use tools to check spacing and level before hanging.
Mark spots lightly with a pencil for nails or strips. Step back and adjust frames until the layout feels balanced.
- Use a measuring tape for equal spacing
- Level frames horizontally and vertically
- Arrange frames on the floor first
- Make small adjustments after hanging
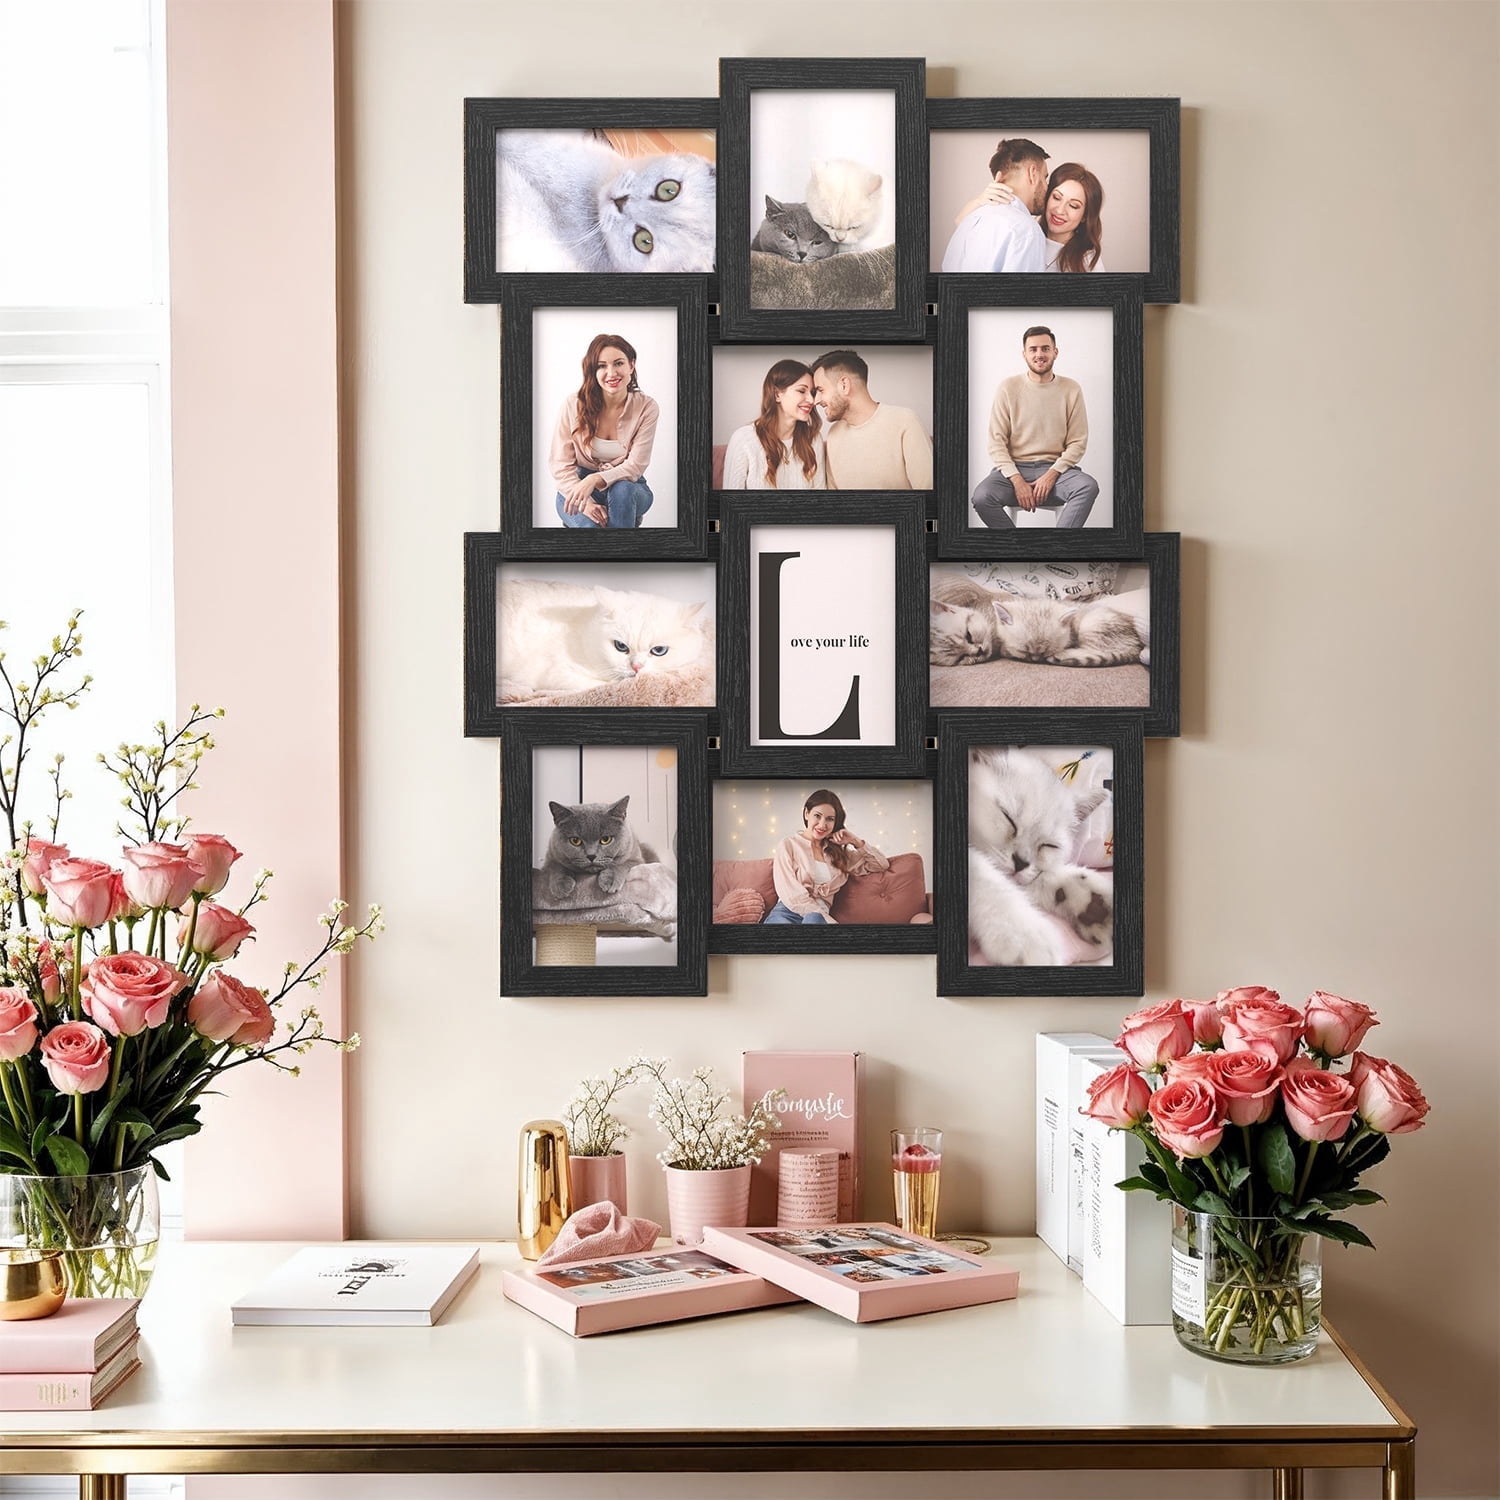
Credit: www.walmart.com
Adding Final Touches
After arranging your collage of frames, adding final touches enhances its look. Small details can make your wall art stand out beautifully.
These touches help the collage feel complete and polished. Let’s explore some key areas to focus on for a perfect finish.
Incorporating Decorative Elements
Adding decorative items around or within your frame collage adds interest and personality. Choose elements that match your style and room theme.
- Use small plants or succulents near the frame edges
- Place decorative hooks or knobs below the collage
- Add wall decals or stickers to fill empty spaces
- Include fairy lights or LED strips behind frames for soft glow
- Mix in small shelves with art objects or books
Ensuring Secure Fixtures
Secure mounting keeps your frames safe and prevents damage. Use the right hardware for your wall type and frame weight.
| Frame Type | Recommended Hardware | Notes |
|---|---|---|
| Lightweight frames | Adhesive hooks or picture hanging strips | Best for drywall, no holes needed |
| Medium weight frames | Nails or screws with anchors | Use wall plugs for drywall or plaster |
| Heavy or large frames | Wall anchors or toggle bolts | Ensure studs support weight |
Maintaining And Updating
Keep your collage fresh by regular cleaning and occasional updates. This preserves its beauty and adapts to your changing tastes.
- Dust frames weekly with a soft cloth
- Check hooks and nails for stability every few months
- Swap pictures or art pieces seasonally
- Rearrange frames to refresh the layout
- Replace damaged frames promptly to avoid accidents
Frequently Asked Questions
How Do I Plan A Frame Collage Layout?
Start by arranging frames on the floor or a large table. Experiment with spacing and alignment before hanging. Use paper templates on the wall to visualize the layout. This helps prevent unnecessary holes and ensures balanced placement.
What Tools Do I Need To Hang Frames Properly?
You need a tape measure, level, pencil, hammer, nails or picture hooks, and a stud finder. These tools ensure precise placement and secure hanging. Using the right tools prevents damage and keeps frames stable.
How Do I Choose Frame Sizes For A Collage?
Mix various frame sizes for visual interest. Use a combination of large and small frames to create balance. Keep consistent spacing between frames for a neat look. This variety enhances the overall aesthetic of your wall.
What Is The Best Spacing Between Frames In A Collage?
Maintain 2 to 4 inches of space between frames. This spacing avoids overcrowding and keeps the collage cohesive. Adjust spacing based on wall size and frame dimensions for the best effect.
Conclusion
Hanging a collage of frames adds charm to any room. Plan the layout carefully before starting. Use simple tools and follow the steps one by one. Keep frames balanced and aligned for a neat look. Choose spots with good light to highlight your art.
Enjoy the personal touch this brings to your space. A well-arranged collage tells your story on the wall. Try different shapes and sizes to keep it fun. With patience, your wall will look warm and inviting. Start creating your unique frame collage today!